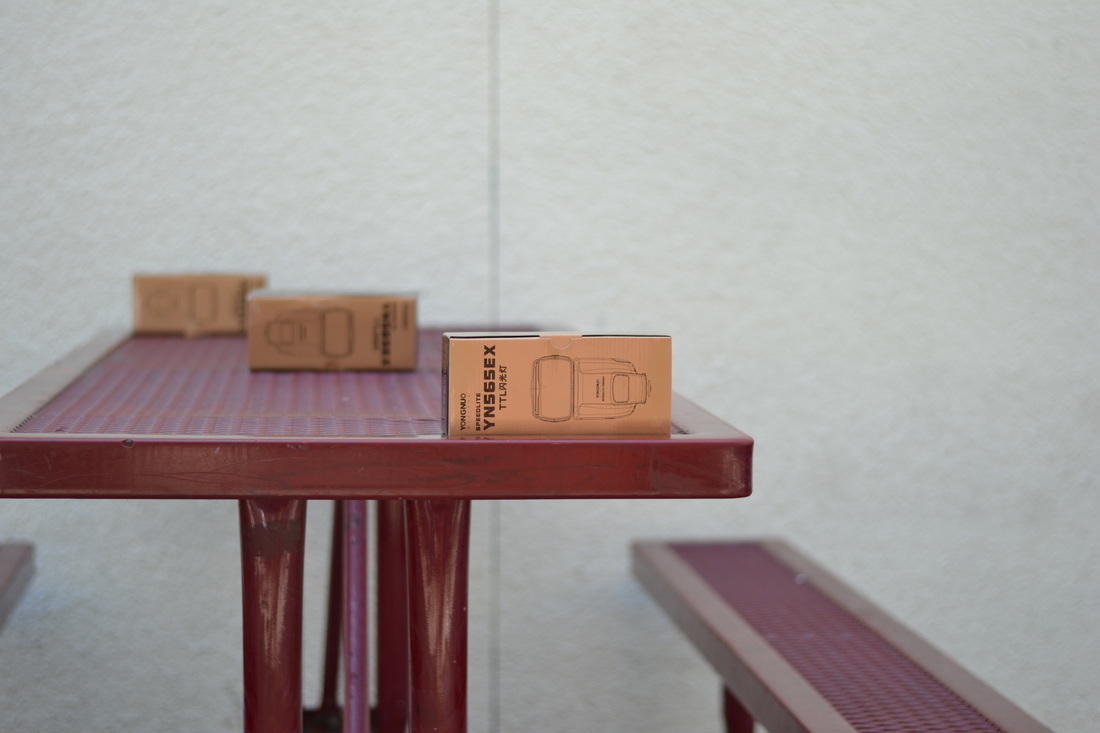
 Aperture f/1.8, Shutter Speed 1/1000th of a second, ISO 200 This aperture makes it so the depth of field is very small so the objects surrounding where the camera shot is focused will be blurred out. So in this picture the only box that is focused is the front of the box and the table. The letters are only visible on the front box.  Aperture f/8, Shutter Speed 1/60th of a second, ISO 200 In the photo the aperture f/8 makes it so that the depth of field allows the person to see the front and middle box more clearly. The box in the back is almost visible, but is still a little blurry around it. 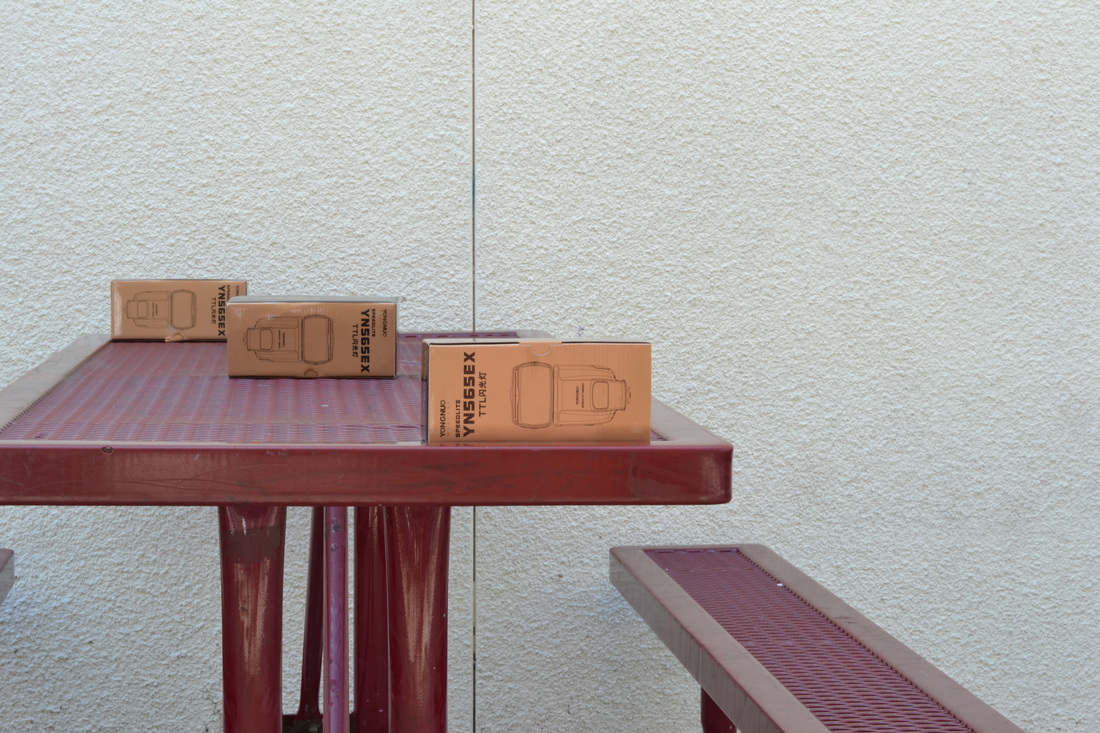 Aperture f/16, Shutter Speed 1/15th of a second, ISO 200 Aperture f/16 is definitely more clear in showing how the letters are more visible on the box in the back all the way to the box in the front.
Aperture Basic Lecture Notes: Shutter speed and aperture set the amount of light that is let through the picture. Defining if it's bright, dark, or just right. Aperture is the area of the circle of the lens that is open. The size is expressed as an F-Stops f/2.8= Shallow and blurr. f/16= Smaller and a more clear picture. You control the aperture with white square as the center of focus and then around it. This is key for composition. So the the depth of field is what is visible in area of a circle. The more clear the picture is the higher the DOF or F-Stop. DOF ensures that the person can see what the true subject is of the photo. ShutterSpeed: This feature defines how clear the picture is gonna be when it is taken. So if you try to take a picture of someone running, you want a faster shutter speed.
0 Comments
Basics of the Camera
DSLR
Exposure
Aperture
Shutter Speed
Iso
Modes on the DSLR
How to hold a DSLR
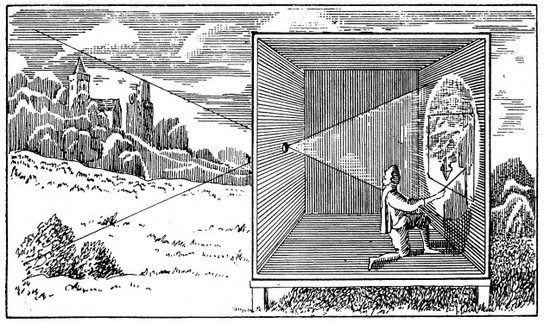 Camera Obscura is a process where you project an image from the outside through one light source. The room has to be completely sealed to where there is only one source of light and it has to be a small hole. The image above shows how the light enters through the hole and then the image of outside is flipped and inverted. In order to fix the image to see things normally again you need to have a mirror be in front of it. Photography's major turning point was during the renaissance. It opened everyones eyes that you can project an image onto another surface and alter it in various forms. 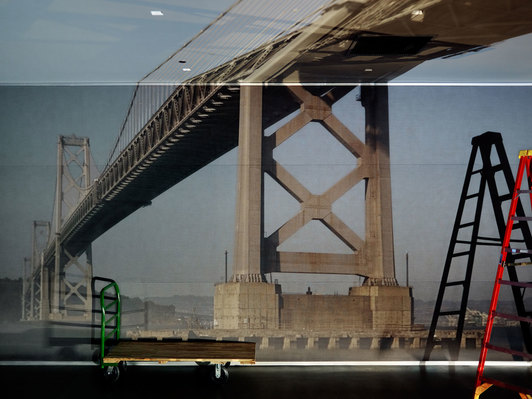 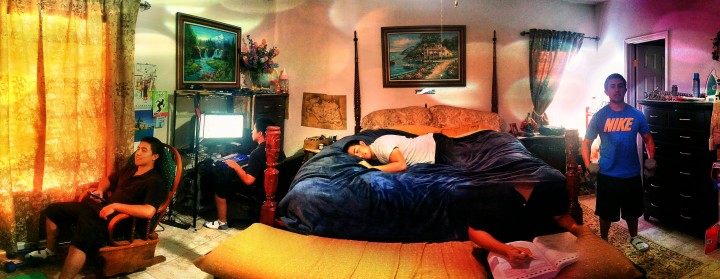 For my surreal self portrait my main component is the panorama effect. This allowed me to place myself in multiple places almost like there are clones of me in the room. Taking this photo was a learning process and resulted in multiple attempts. After taking the picture I used Snapseed to tune the image, adjust the details, and vignette to make the picture more clear and even out the lighting. I then used another app called Pixlr to add a rainbow overlay to lighten the mood.
|
Author:Thomas Lynch, I'm a dedicated hard worker who loves to express himself through art. Archives
May 2017
Categories |
 RSS Feed
