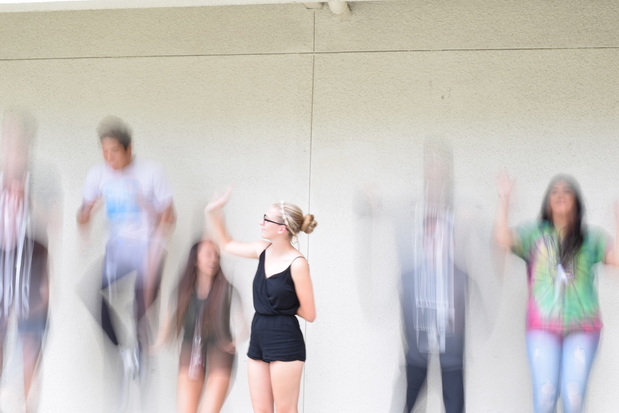
 Aperture f/16, Shutter Speed 1/3rd of a second, ISO 100 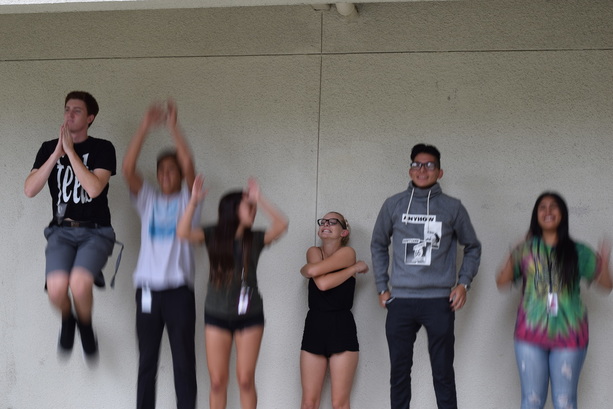 Aperture f/9, Shutter Speed 1/30th of a second, ISO 100 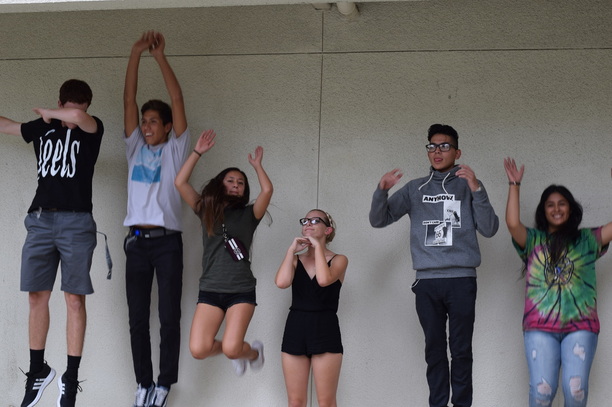 Aperture f6.3, Shutter Speed 1/60th of a second, ISO 100 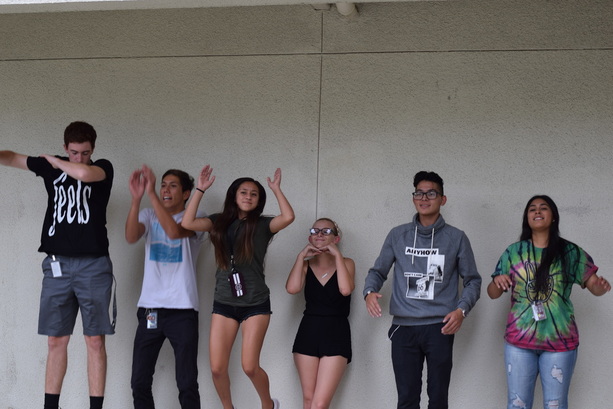 Aperture f/3.2, Shutter Speed 1/250th of a second, ISO 100 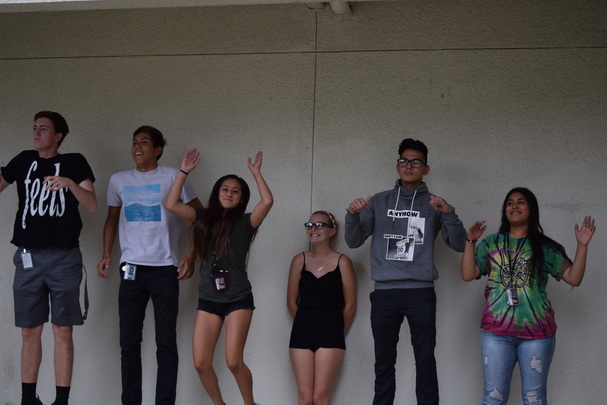 Aperture f/1.8, Shutter Speed 1/1000th of a second, ISO 100 To change the camera to shutter priority you first need to turn the camera on. Once when you turn the camera on there is a mode dial with MASP on it. Have the dial set to S for shutter speed. This mode will let you choose the amount of time the picture is exposed to the light in a second. To change the shutter speed you roll the dial near the screen and it will go up or down. When shutter speed changes the light exposure changes. So when the picture is set for a long shutter speed, the light exposure can be too much causing the picture to become blurry like the first photo on top. A quicker shutter speed will cause the picture to become darker like the above this text. You want to use shutter speed priority to capture images that are insanely fast and can only be taken at certain speeds, or show a certain motion.(blurry or freezing time) Shutter Speed Notes
0 Comments
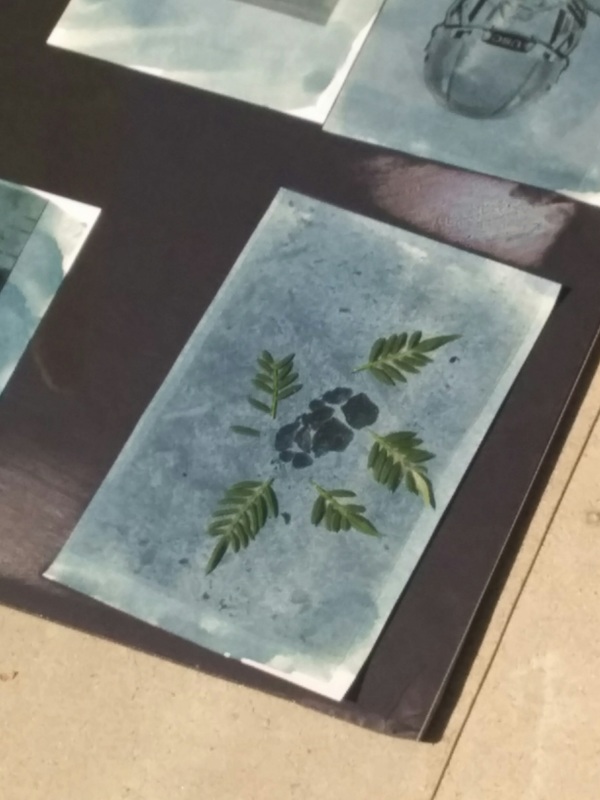
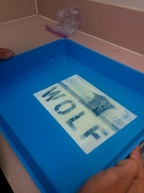
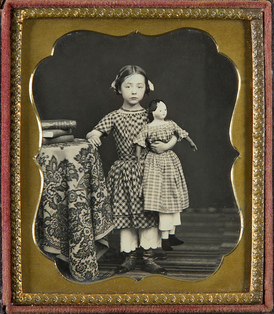 Daguerreotype: 1820’s Camera Obscura, Louis Daguerre did a 75ft diorama. 1839 Daguerre used a polished piece of copper coated with silver and iodine on the plate. Using camera obscura he exposed the plate to the image for a set time for the image to set in. After, he then placed it into mercury. Finally the image is then has a liquid chemical applied to it then dried. The image has to be sealed off to prevent change, because light exposure will eventually make it disappear. It is a negative and positive image at the same time. 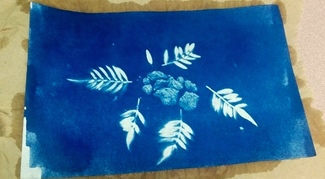 Final result Cyanotype uses the elements potassium, ferricyanide, and Ferric ammonium citrate. Sir John Herschel invented the cyanotype process. This process was unique during its time in which it did not use silver. To make this type of picture you first mix Ammonium ferric citrate and Potassium ferricyanide. After mixing the two together, apply the solution to a canvas or a material you can print the picture on. When you have finished applying the solution you place the object you want to make the picture on it. Depending the amount of UV exposure, the object can take several minutes or a few hours to fully print. After you have finished exposing the picture, rinse the canvas in water for at least five minutes to remove any unexposed chemicals. The end result after the canvas has dried will be a blue image of the object. Cyanotypes were used as blueprints for engineering or contact sheets. This process was very cheap and allowed many people to use it.
How I Did My Own
 "Training Day" -Aperture f/8, Shutter Speed 1/1000th of a second, ISO 400 General Akbar had just finished a recent battle with the Sith on Tatooine. During the battle he realized Jar Jar needed some training. To start, General Akbar wanted to help Jar Jar refine his grenade throws. They met outside of the camp at noon to start practice.  "Whoops..." -Aperture f/8, Shutter Speed 1/1000th of a second, ISO 400 For safety precautions General Akbar told Jar Jar to get the fake grenades, but what he did not know was Jar Jar had picked up real grenades by accident. So when Jar Jar threw the grenade they went to retrieve it. 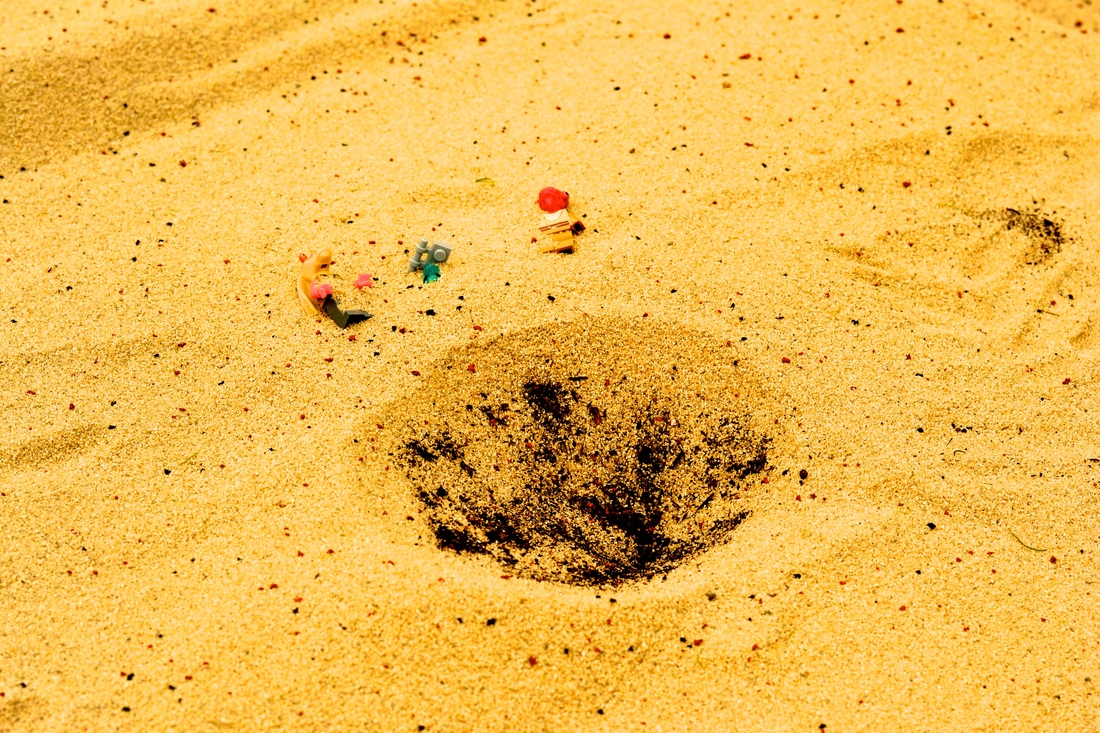 "The Aftermath" -Aperture f/8, Shutter Speed 1/800th of a second, ISO 400 As General Akbar was about to retrieve the grenade, he realized it was not a dud. He quickly said, "Get back!" pushing Jar Jar away from the blast. The grenade produced a shock wave that repelled them and created a crater. 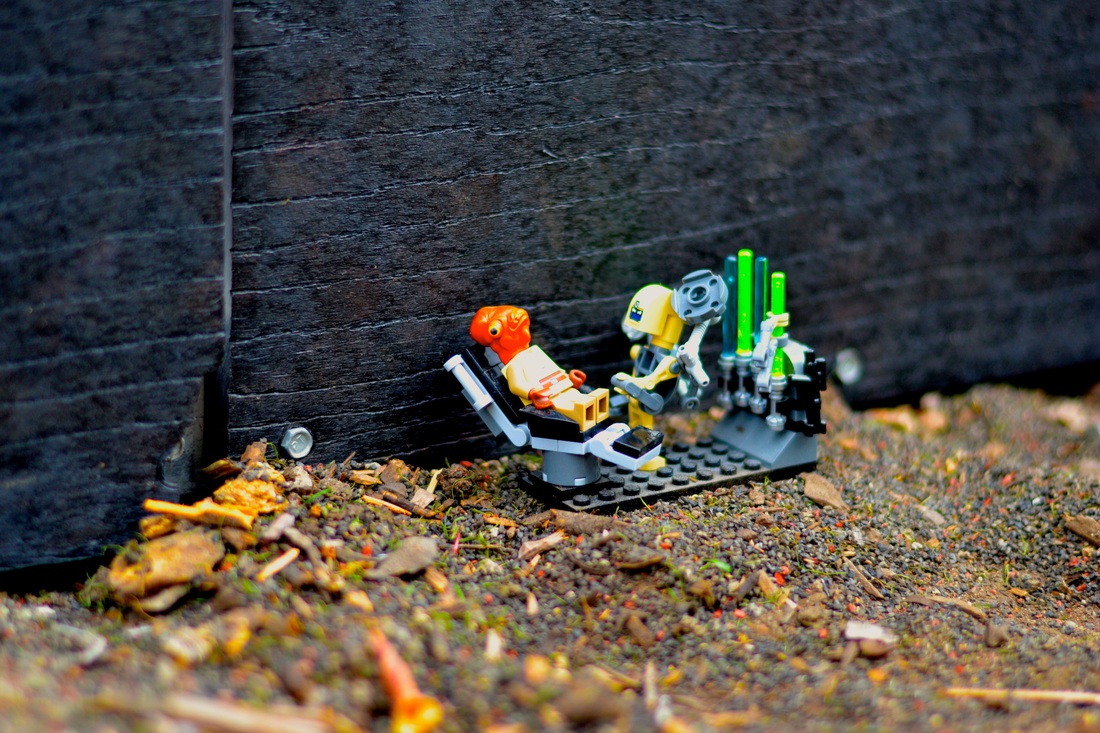 "Life Alert" -Aperture f/1.8, Shutter Speed 1/800th of a second, ISO 400 Thankfully, General Akbar had Life Alert at his side to assist him from the injury. Without Life Alert General Akbar and Jar Jar would have died due to being paralyzed on the ground. Both of them were shortly transported to the hospital where a robot treated them. 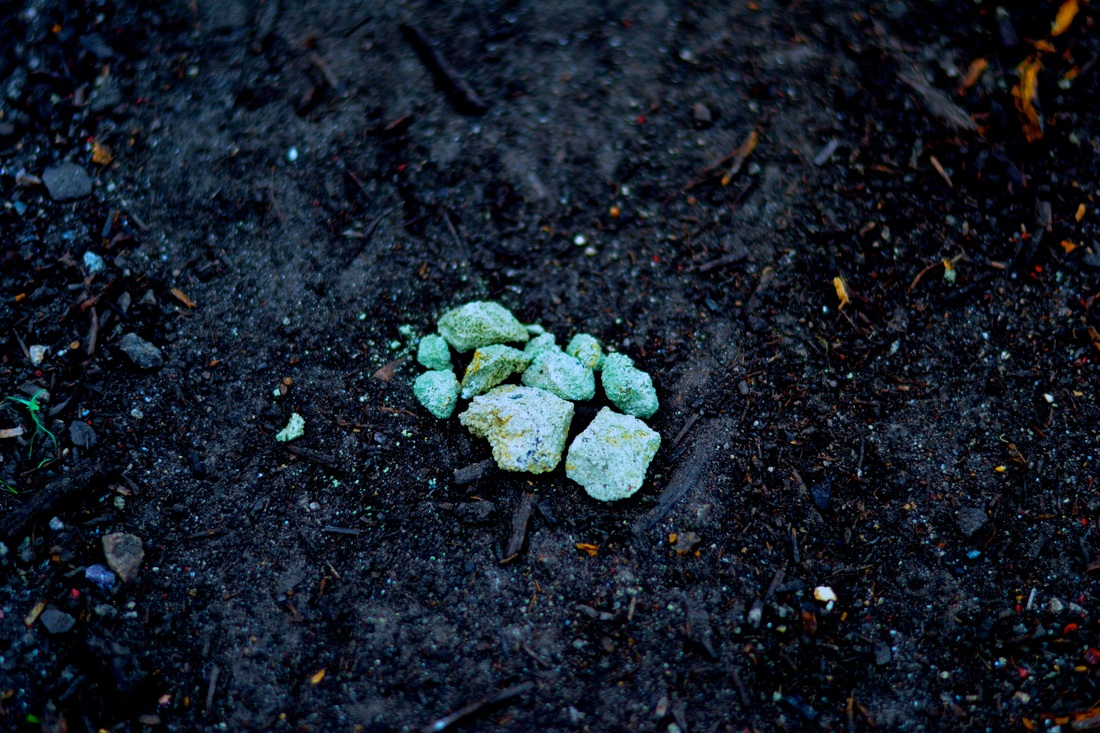 "Consequences" -Aperture f/1.8, Shutter Speed 1/3200th of a second, ISO 400 Unfortunately, there was a power outage during Jar Jar's operation and the workers were expecting the back up generator to kick in. Realizing the back generators were down too, the staff became more concerned about getting the power back up than finishing his operation. As a result, Jar Jar died from internal bleeding because no one was there to treat his injuries.
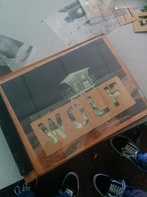
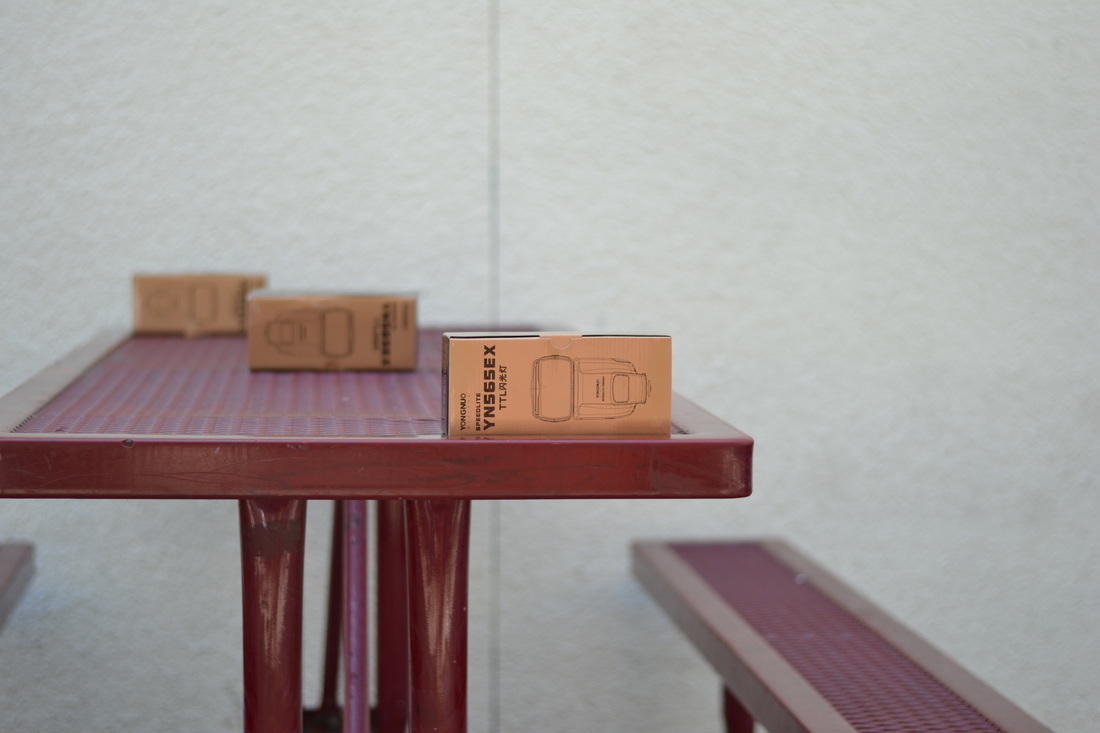 Aperture f/1.8, Shutter Speed 1/1000th of a second, ISO 200 This aperture makes it so the depth of field is very small so the objects surrounding where the camera shot is focused will be blurred out. So in this picture the only box that is focused is the front of the box and the table. The letters are only visible on the front box.  Aperture f/8, Shutter Speed 1/60th of a second, ISO 200 In the photo the aperture f/8 makes it so that the depth of field allows the person to see the front and middle box more clearly. The box in the back is almost visible, but is still a little blurry around it. 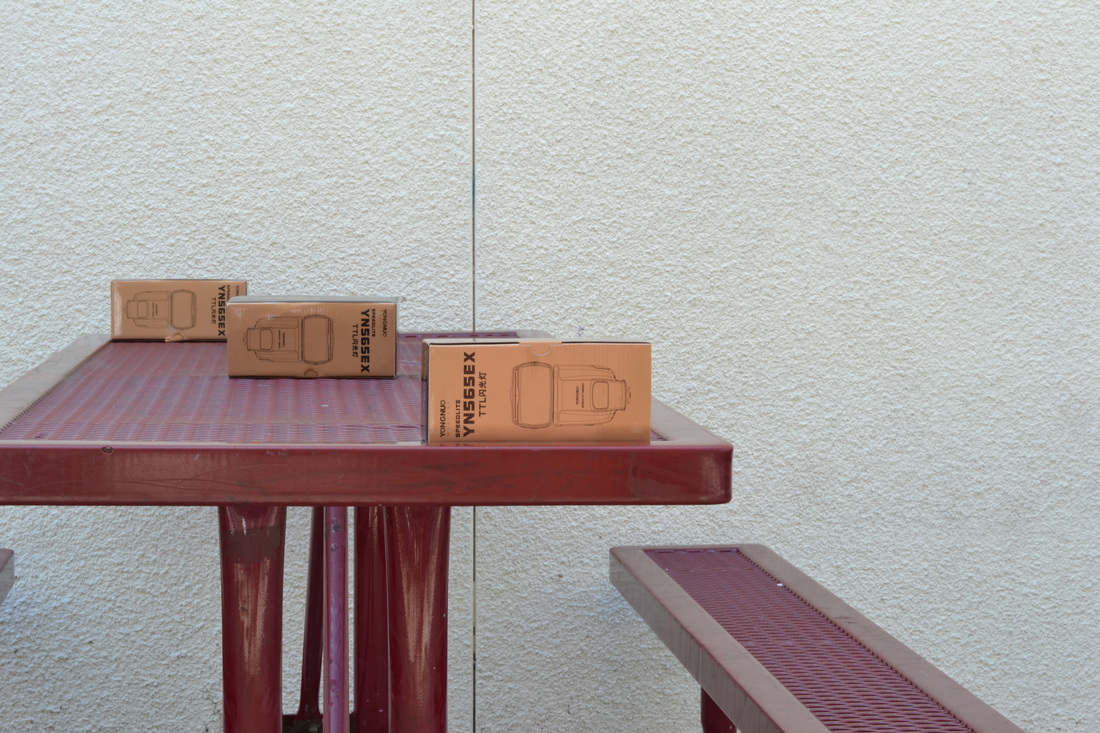 Aperture f/16, Shutter Speed 1/15th of a second, ISO 200 Aperture f/16 is definitely more clear in showing how the letters are more visible on the box in the back all the way to the box in the front.
Aperture Basic Lecture Notes: Shutter speed and aperture set the amount of light that is let through the picture. Defining if it's bright, dark, or just right. Aperture is the area of the circle of the lens that is open. The size is expressed as an F-Stops f/2.8= Shallow and blurr. f/16= Smaller and a more clear picture. You control the aperture with white square as the center of focus and then around it. This is key for composition. So the the depth of field is what is visible in area of a circle. The more clear the picture is the higher the DOF or F-Stop. DOF ensures that the person can see what the true subject is of the photo. ShutterSpeed: This feature defines how clear the picture is gonna be when it is taken. So if you try to take a picture of someone running, you want a faster shutter speed. Basics of the Camera
DSLR
Exposure
Aperture
Shutter Speed
Iso
Modes on the DSLR
How to hold a DSLR
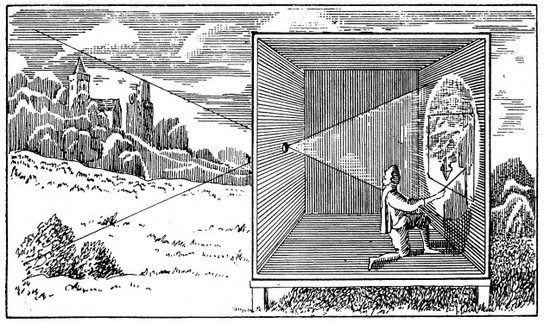 Camera Obscura is a process where you project an image from the outside through one light source. The room has to be completely sealed to where there is only one source of light and it has to be a small hole. The image above shows how the light enters through the hole and then the image of outside is flipped and inverted. In order to fix the image to see things normally again you need to have a mirror be in front of it. Photography's major turning point was during the renaissance. It opened everyones eyes that you can project an image onto another surface and alter it in various forms. 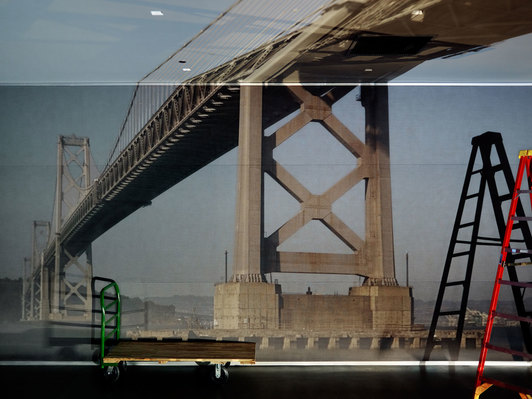 |
Author:Thomas Lynch, I'm a dedicated hard worker who loves to express himself through art. Archives
May 2017
Categories |
 RSS Feed
