Leading Line
Symmetry
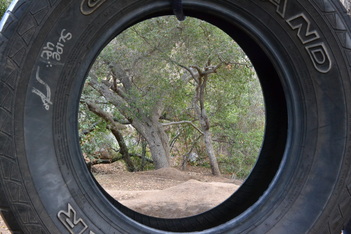
Rule of Thirds
Crop
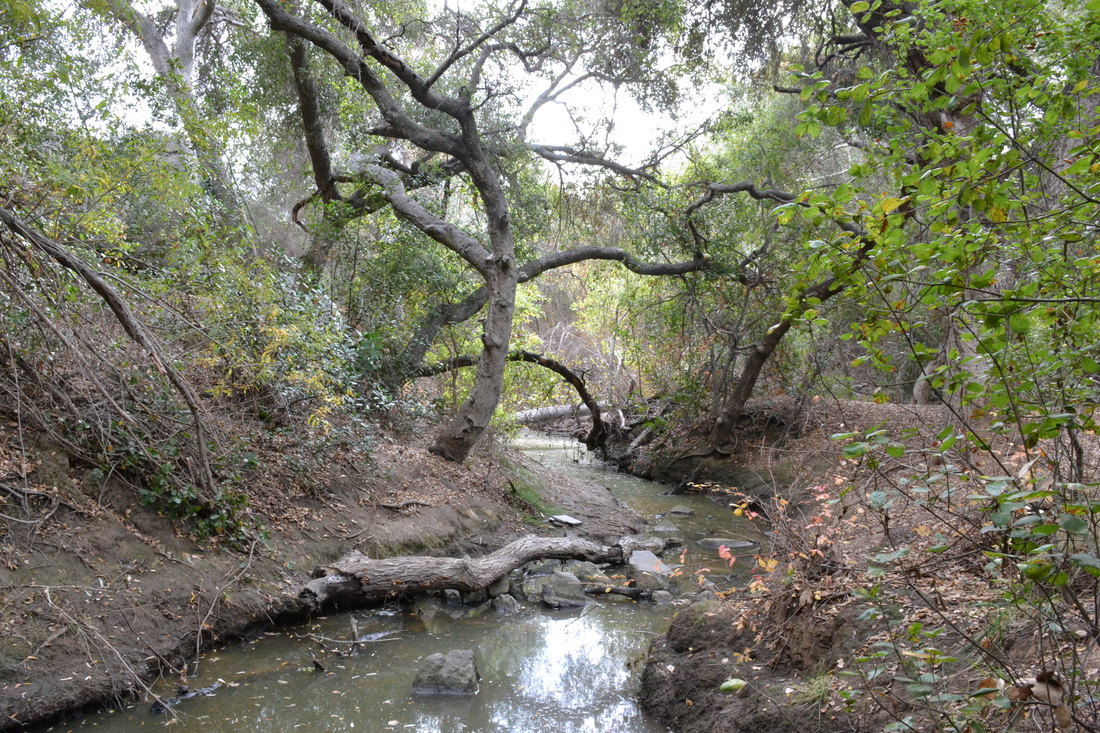
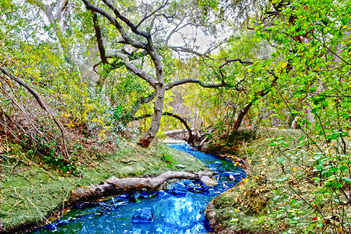
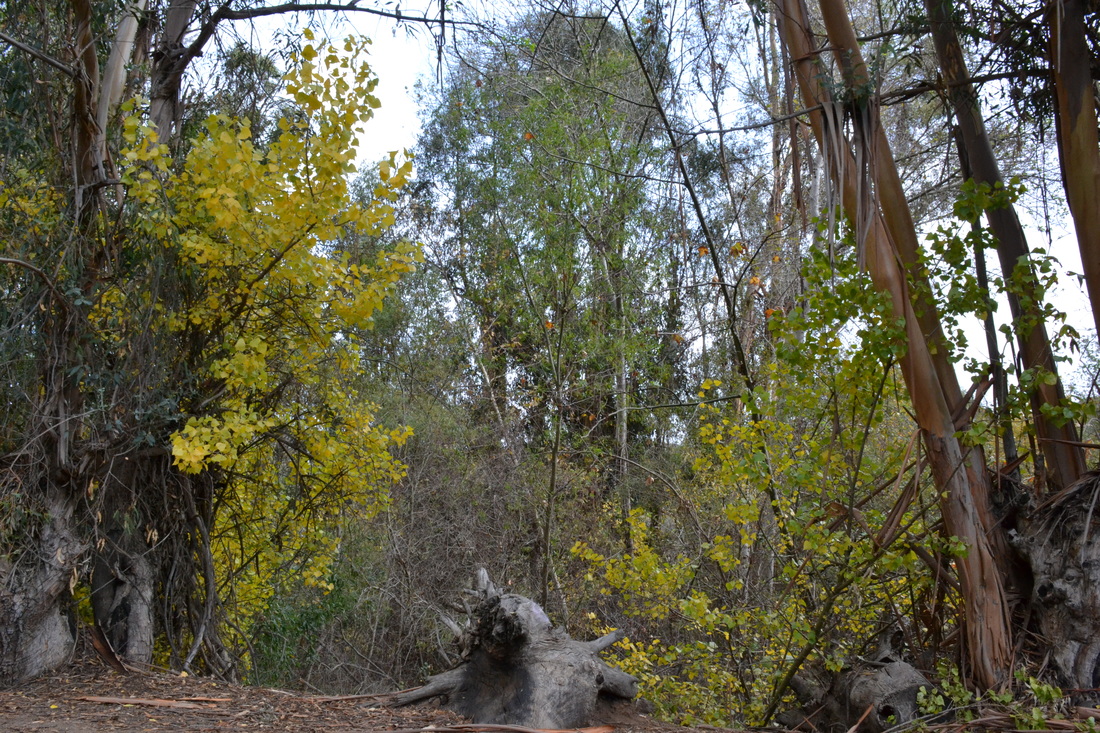
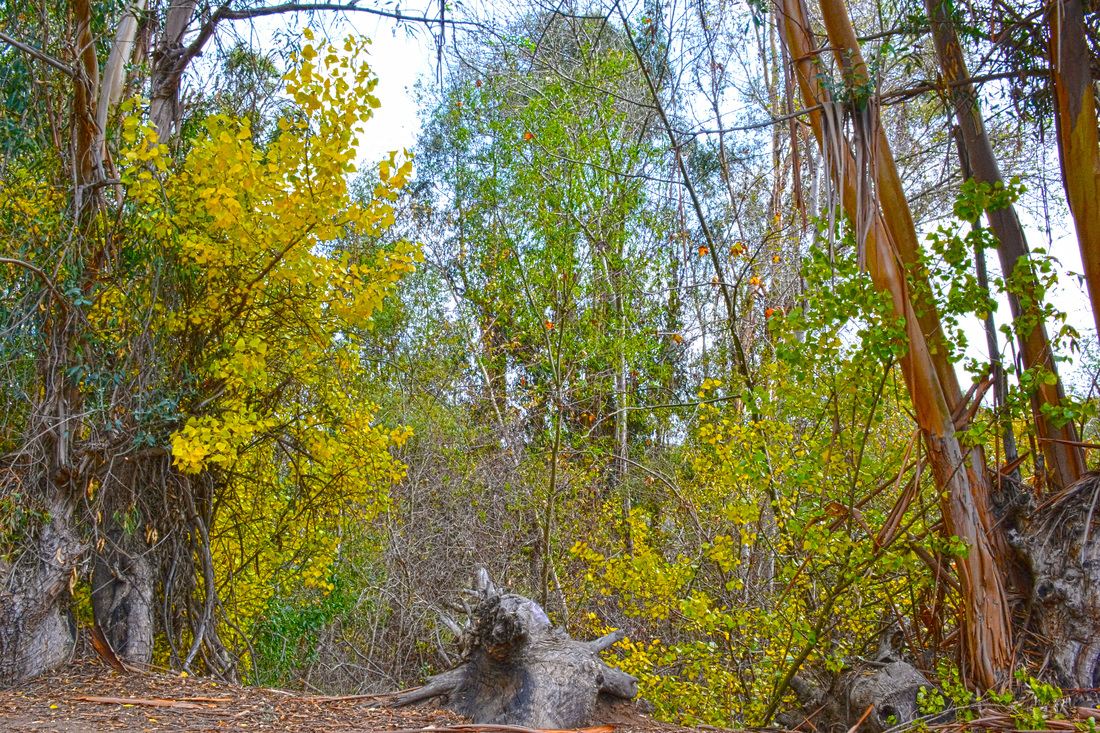
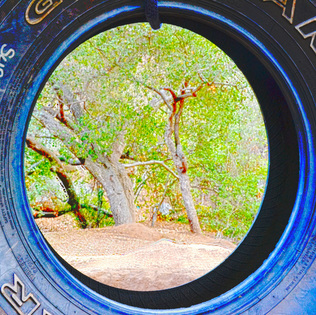
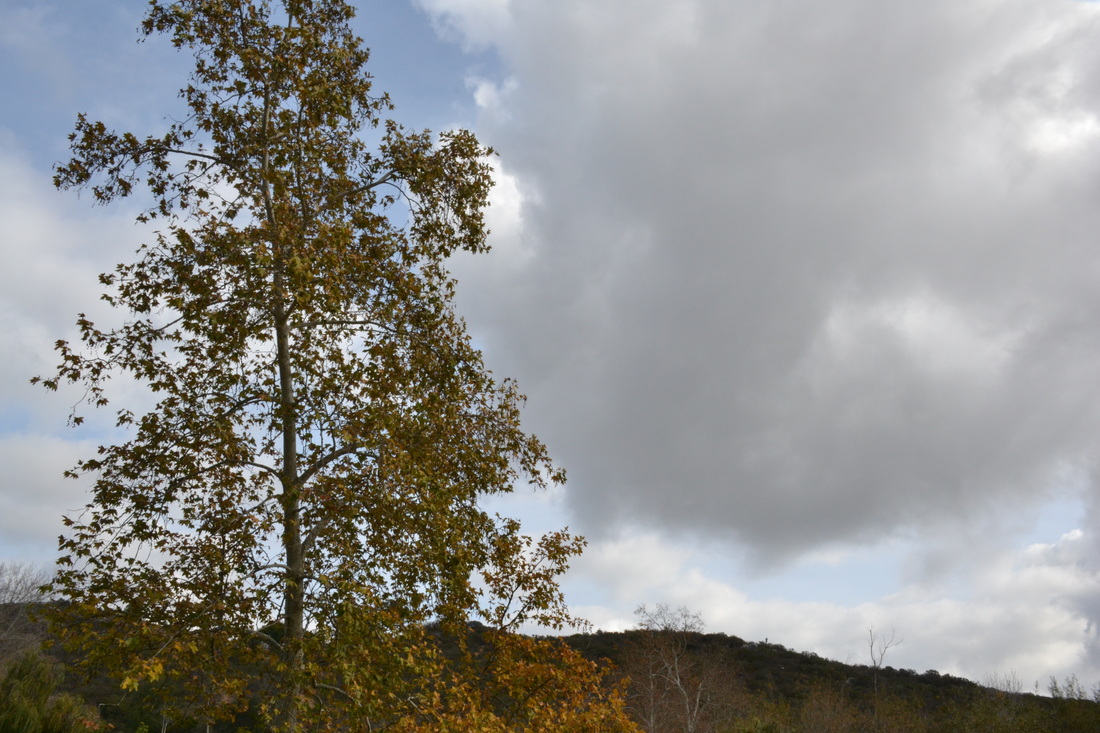
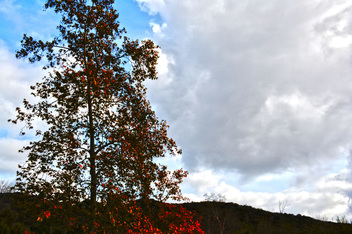
HDR= High Dynamic Range
The photos I used to make the HDR Composition were taken on a tripod. Each photo was taken 5 times with one normal, and two over and under exposed pictures. Steps to make HDR in Photoshop: A. Open up Photoshop. File > automate B. Hit the browse button. Select photos > last import. Get the five images with the five different exposures pressing command + mouse click. C. Let Photoshop do it's thing to align the layers. D. A box will come up. Use the presets on the top right to find what you like the best. "More saturated" emulates Trey Ratcliff's style the most but it's up to you as the artist to choose what you like. E. Make sure the layers are totally aligned by pressing "get rid of ghosts". F. Press "done" when you're happy with what you have. I then personally changed the colorbalance in certain images to make the atmosphere feel more alive and cropped certain images to remove unwanted objects.
0 Comments
|
Author:Thomas Lynch, I'm a dedicated hard worker who loves to express himself through art. Archives
May 2017
Categories |
 RSS Feed
