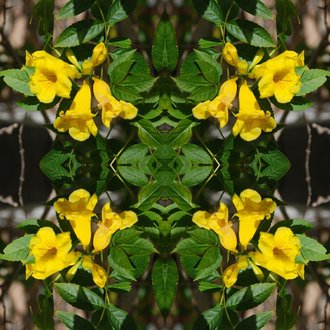
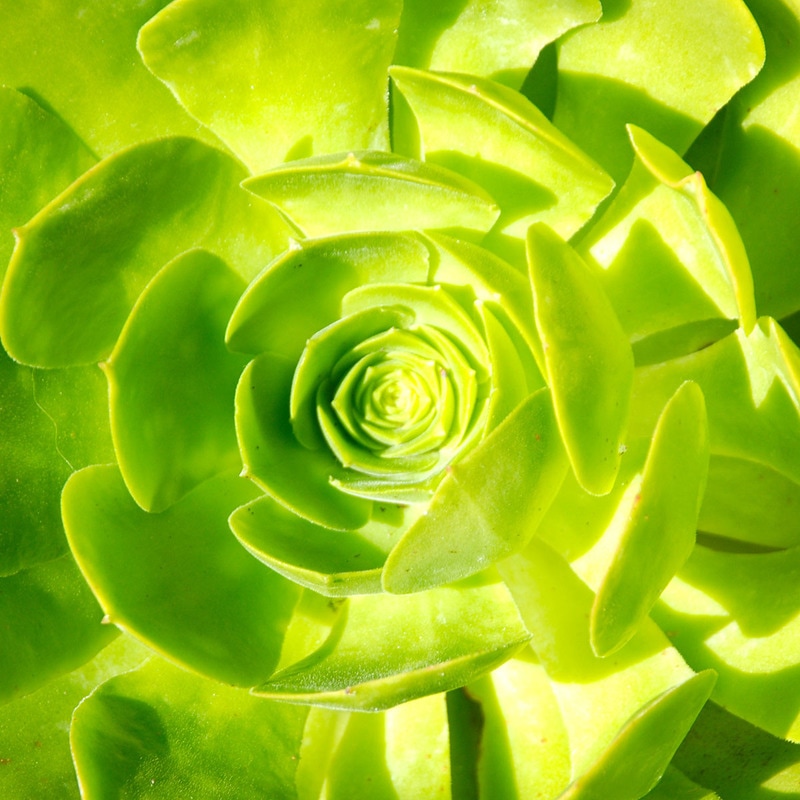
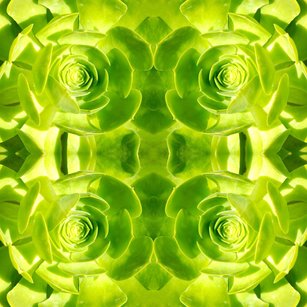
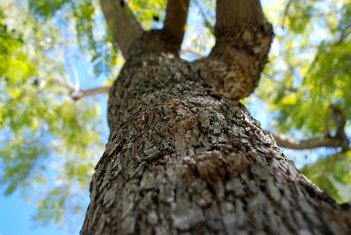
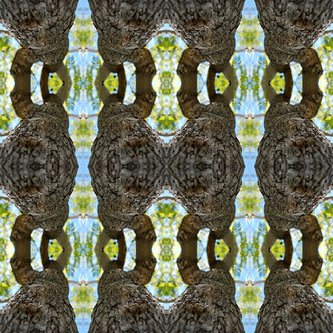
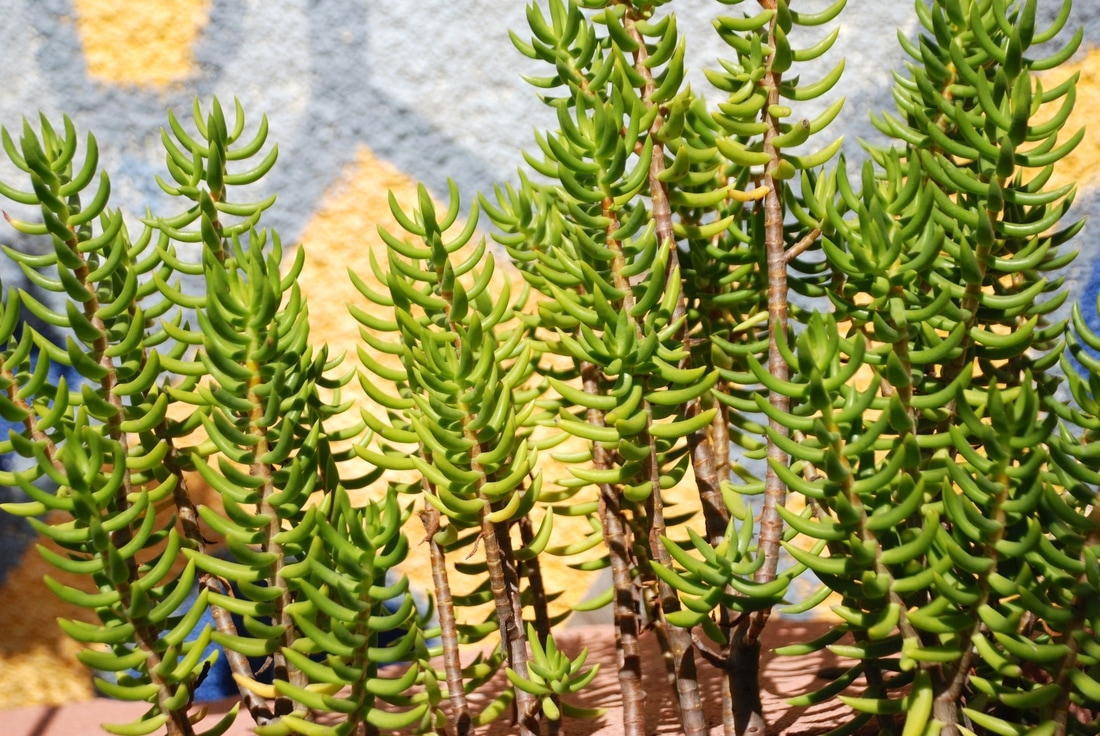
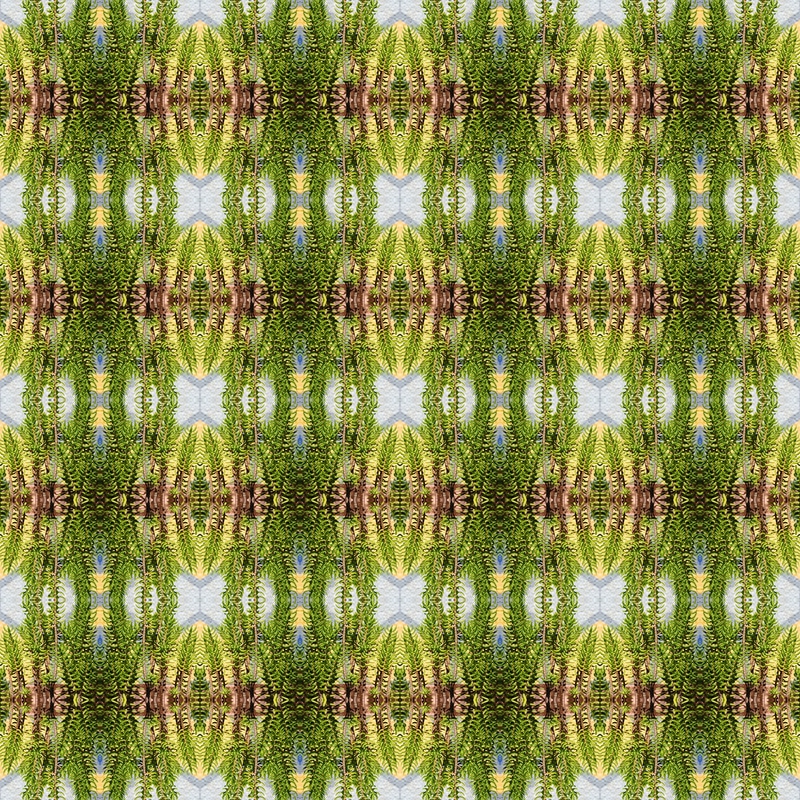
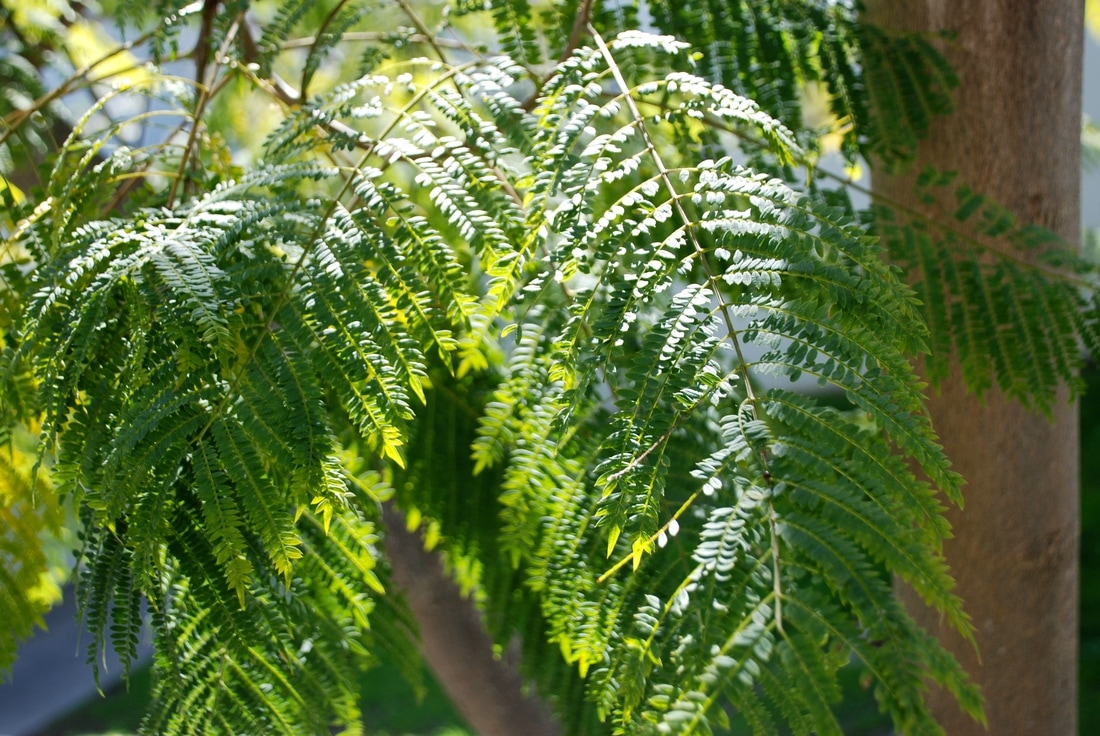
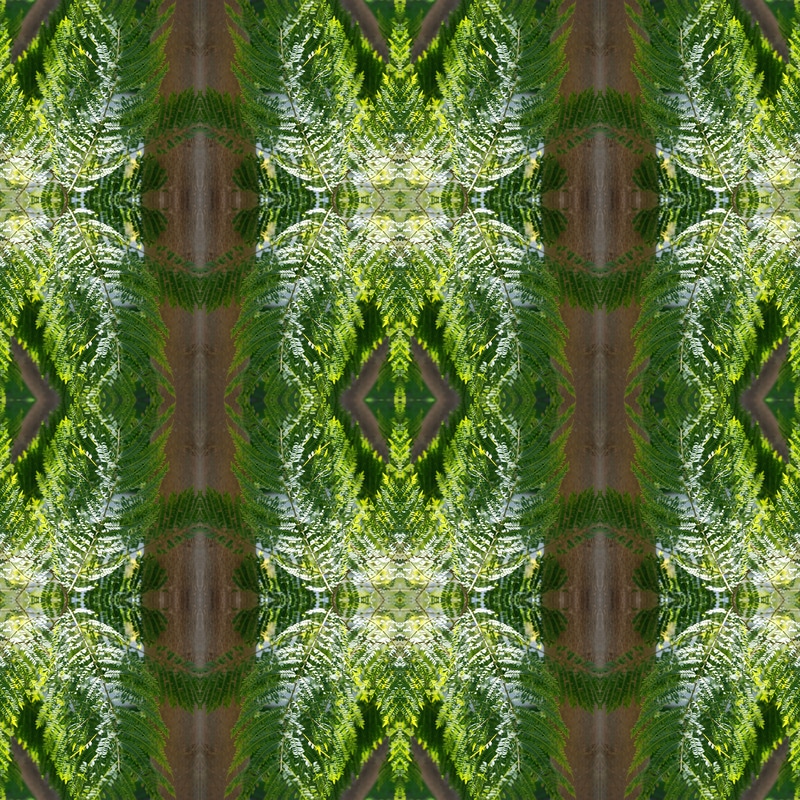
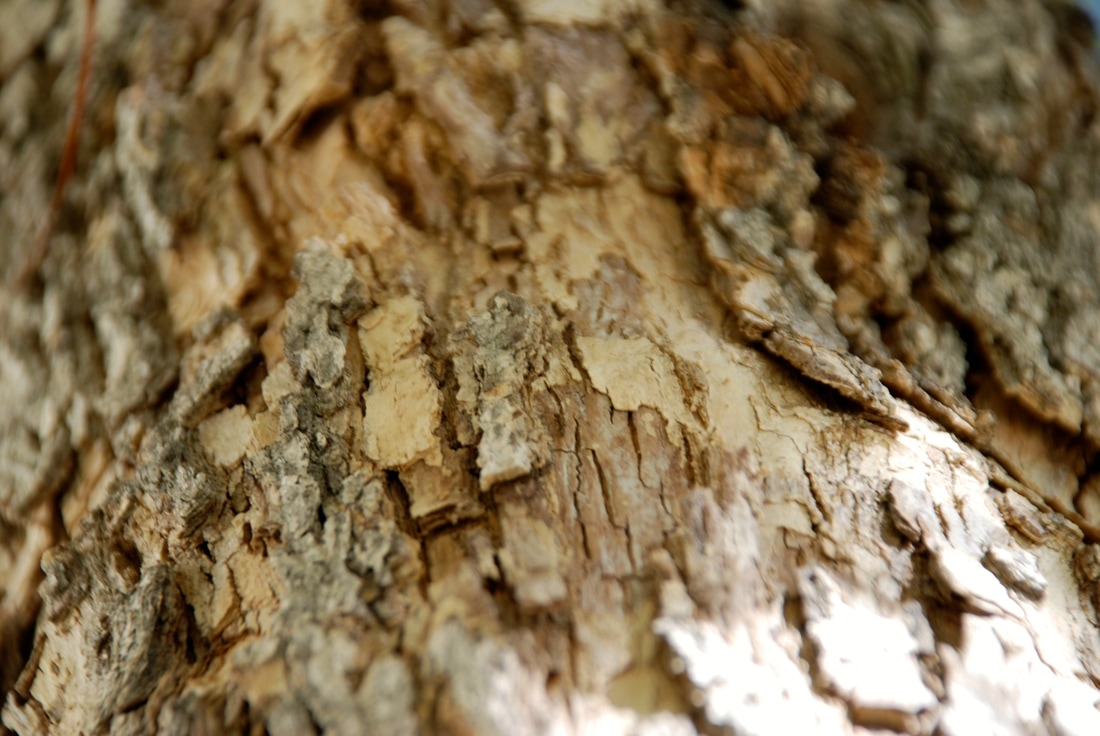
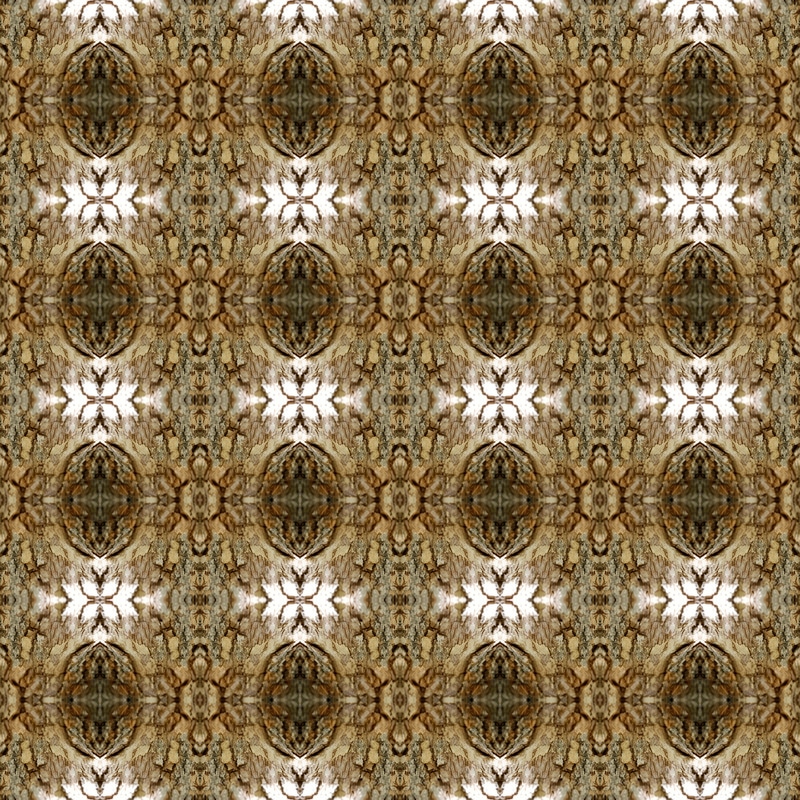
A tessellation is an image that has an arrangement of one image closely fitted together to form a pattern almost like carpet. I created a tessellation by creating a grid layout of guides that were suitable to the amount of symmetry I wanted. For example, 2 columns for a four inch pattern, 4 columns for an 2 inch pattern, and 8 columns for a 1 inch pattern. I then placed a cropped image in a single square, then rotated and flipped duplicates appropriately to create a symmetric square pattern. To make the process faster I then copied them into a row and made that a single layer. This makes it so that you only need to copy the row # amount of times. One thing I like about tesselations is how it can change one single image and make it into something completely different. My favorite image is the tree bark. There were no struggles after reading the instructions. If I had to do this over again, I would take different pictures of objects with various shapes and colors.
0 Comments
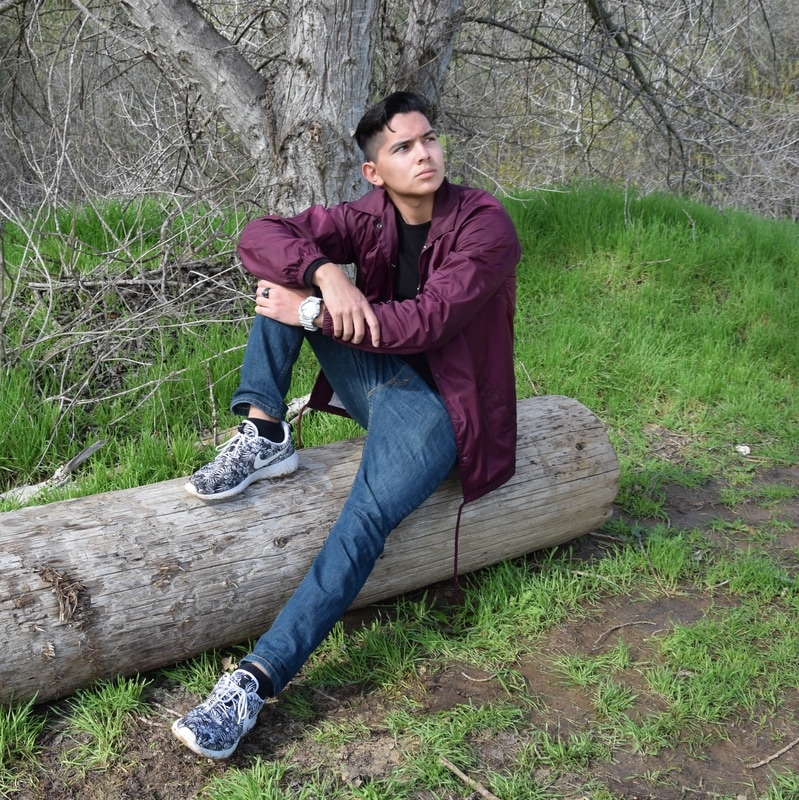 Shutter speed 1/350th of a second, aperture f/8, ISO 400. 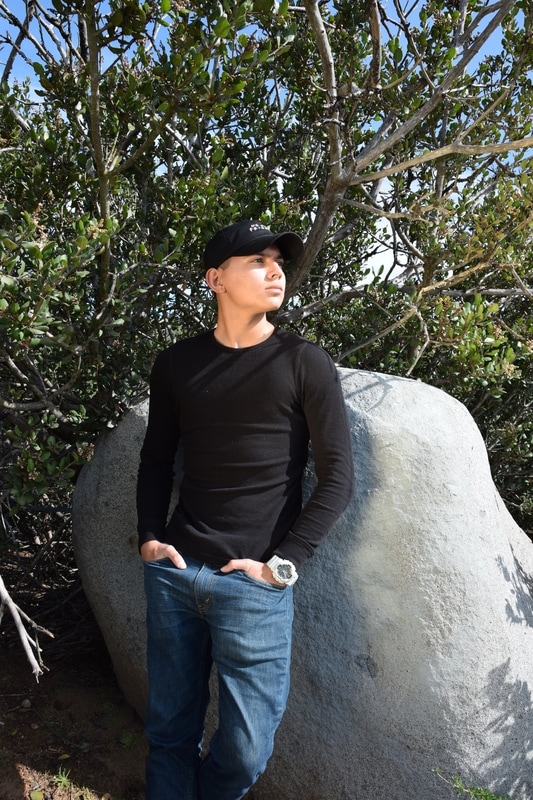 Shutter speed 1/500th of a second, aperture f/9.5, ISO 400. 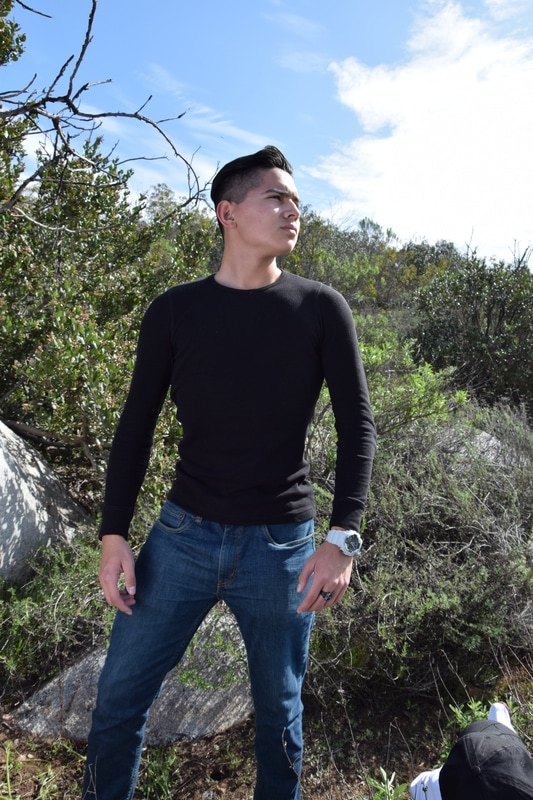 Shutter speed 1/750th of a second, aperture f/9.5, ISO 400.  Shutter speed 1/500th of a second, aperture f/9.5, ISO 400. 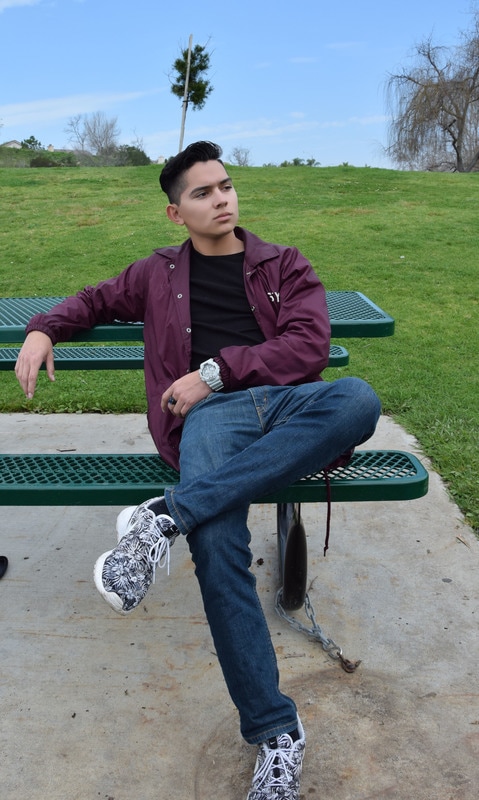 Shutter speed 1/1000th of a second, aperture f/8, ISO 400. 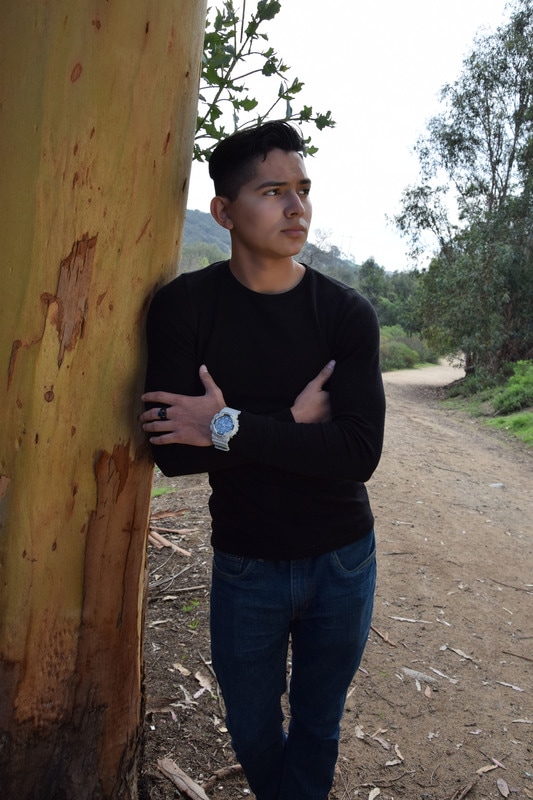 Shutter speed 1/500th of a second, aperture f/8, ISO 400. After going to the duck pond and taking portrait photos, I learned that linking the environment to the poses is a key factor to making a great portrait. The thing that helped me decide on the poses was a shot list paper with different poses printed on it. I used a reflector on the 2nd and 4th photo to help bring warmth to the person's face. I retouched the person's face with surface blur to smooth out the face. Models, businessmen, actors, and high school seniors commonly hire portrait photographers for a portfolio of high quality photographs. The salary ranges from around $21,000 to $90,000; this mostly depends on how professional and famous the photographer is. other factors may include the amount of clients they have. The charge for taking photographs is paid hourly. Students and decent photographers usually charge around $80 per hour, while professionals will usually charge up to $200 per hour.
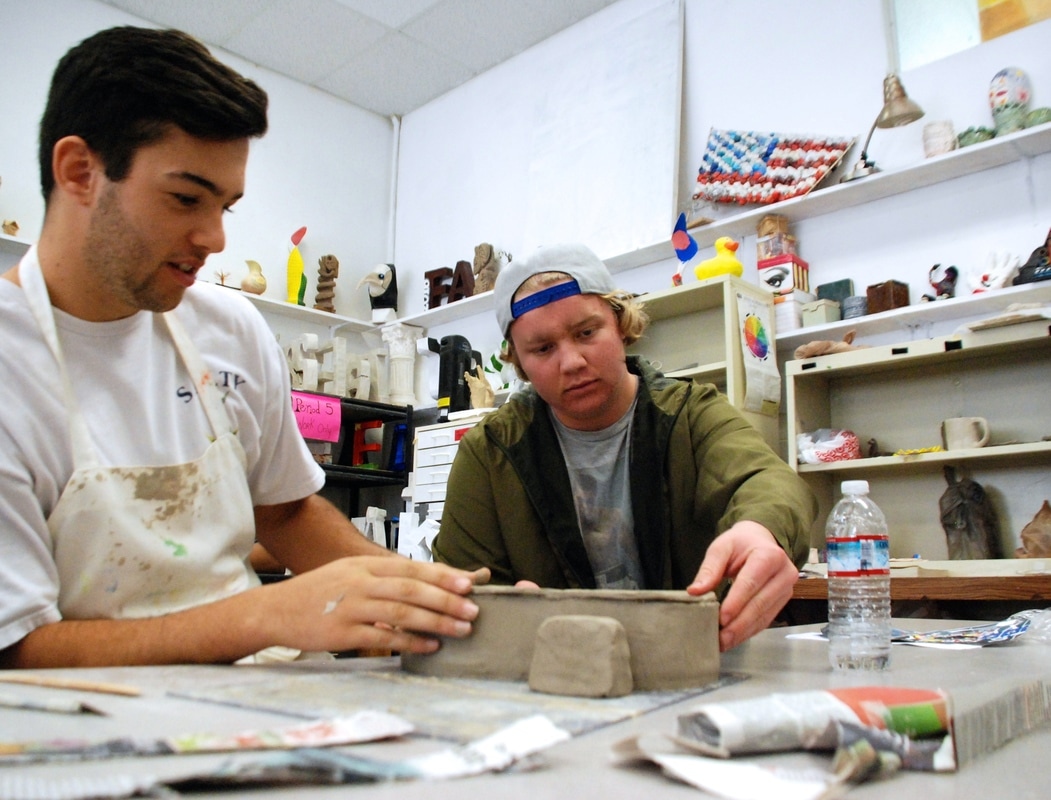 Education is for everyone. This photo displays that education can be obtained through a creative and collaborative setting that is aimed towards reaching personal achievements. In this picture, two people are collaborating to make a piece of art. Through their persistence of creating new pieces of artwork, they are able to learn and educate each other on new ideas and past concepts. After finishing their work of art, they are now able to apply spin offs from their original creation and make even more beautiful masterpieces. Art teaches people how to be creative and enjoy expressing oneself through personal achievements. Education is for everyone, it just matters how you find it through your own journey.
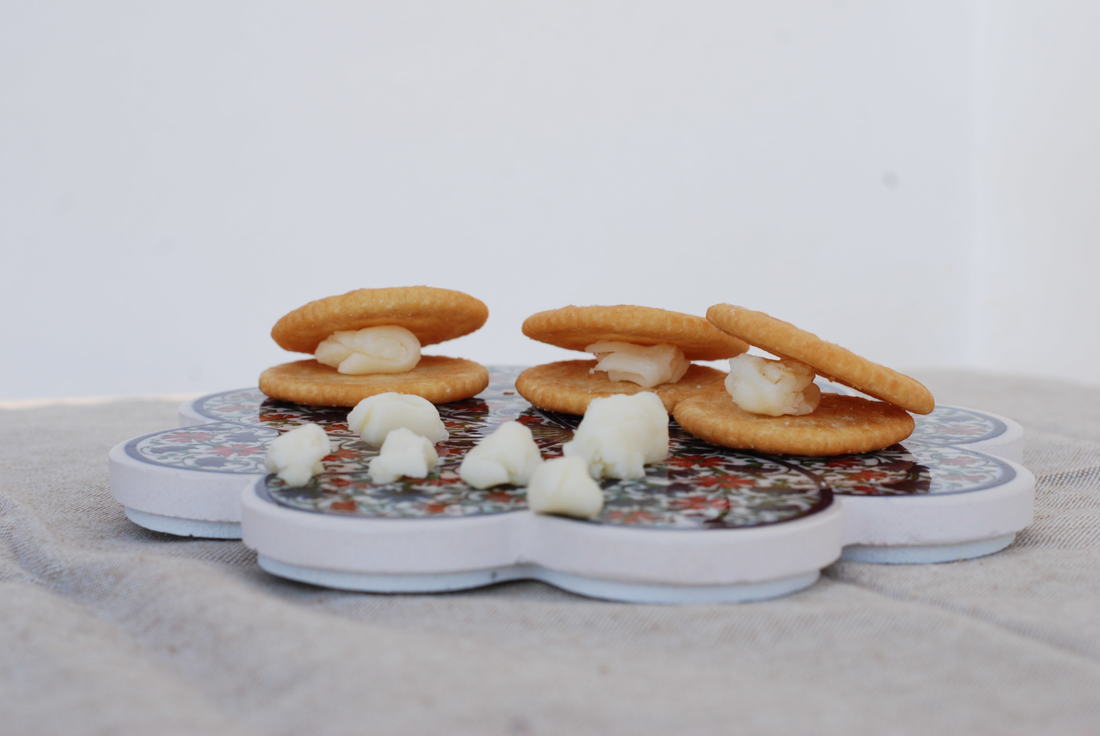
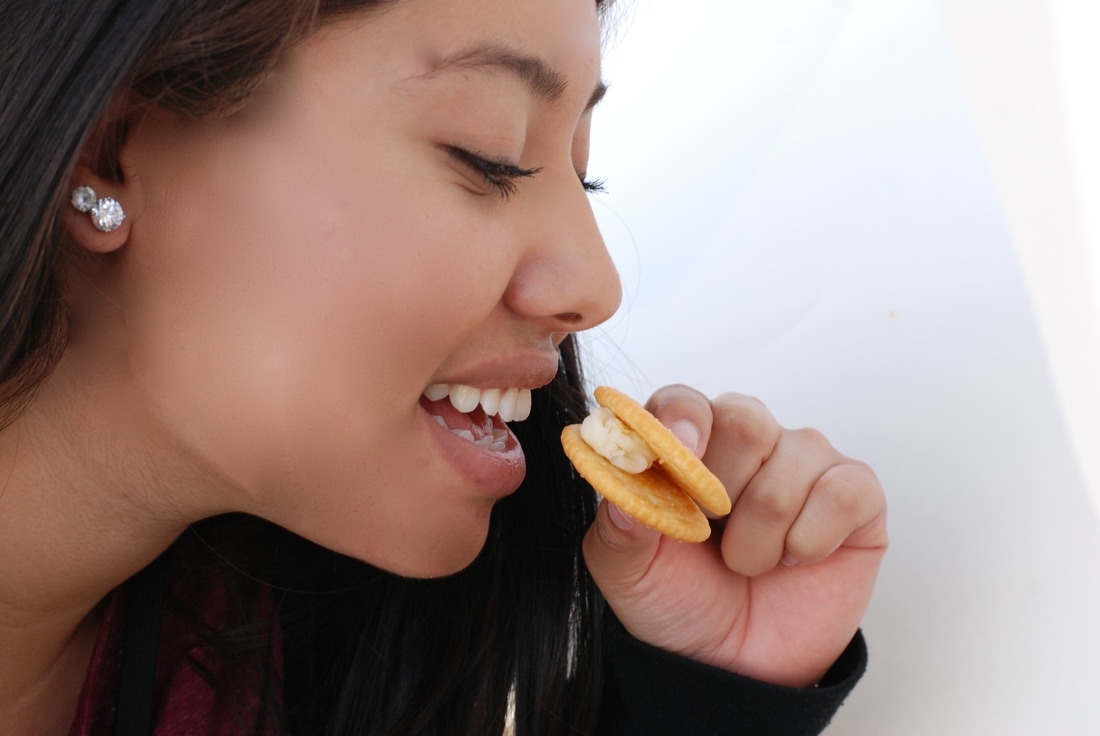
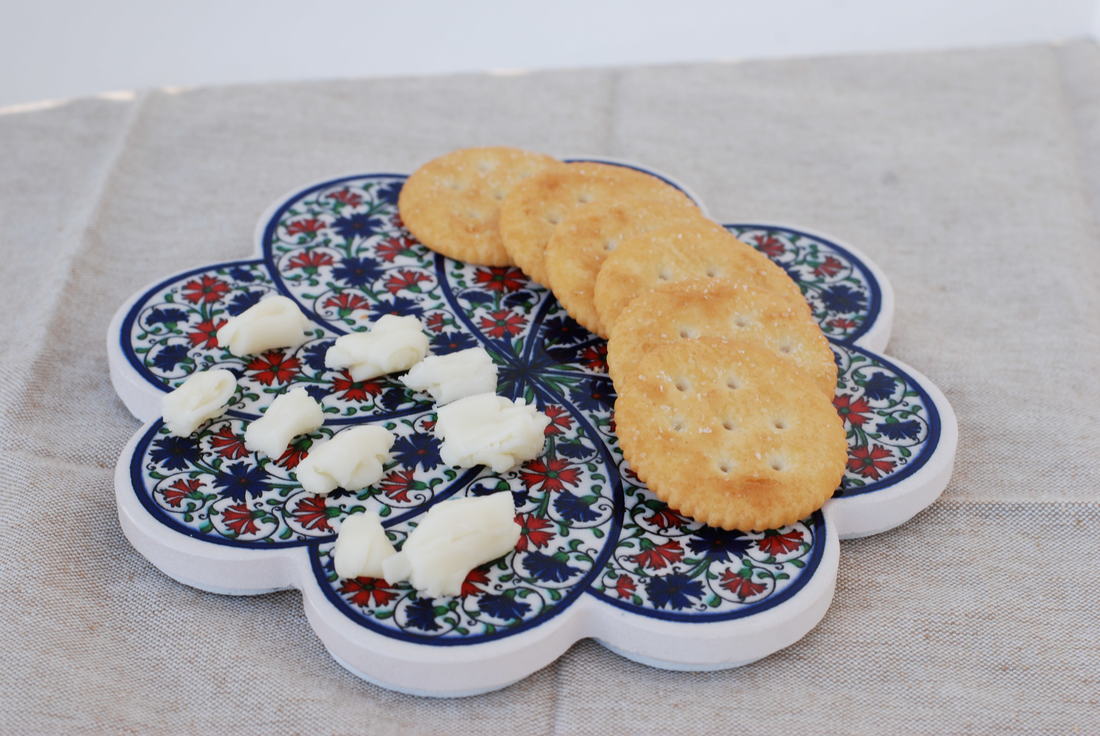
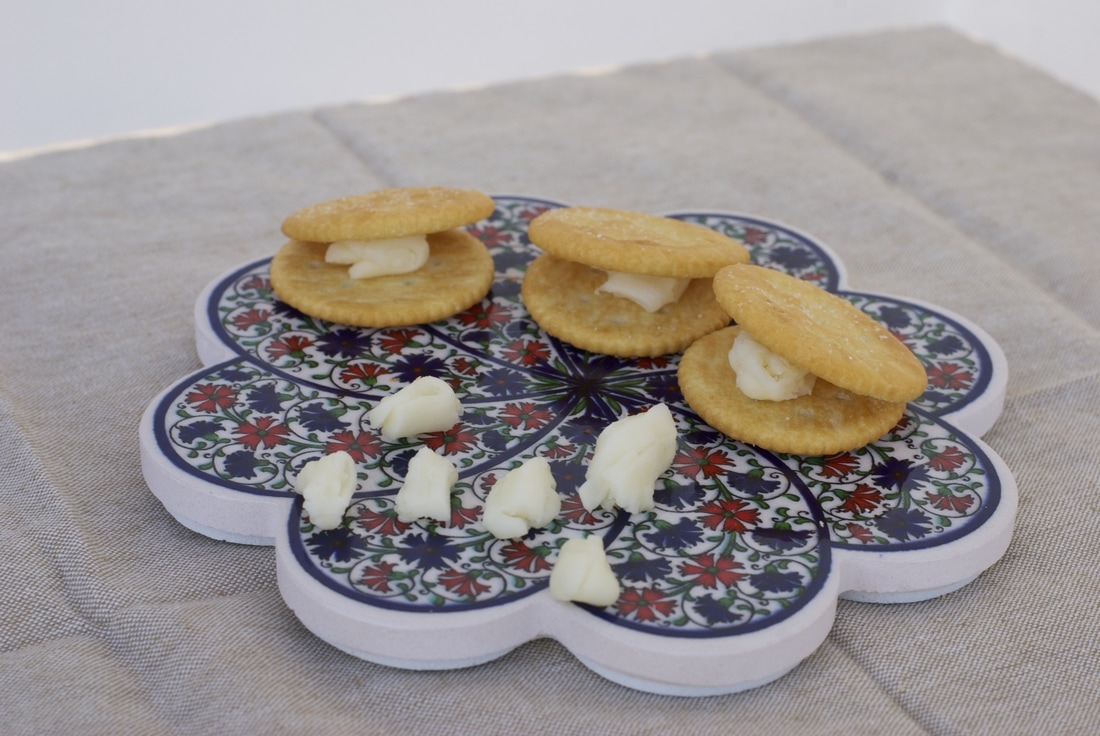
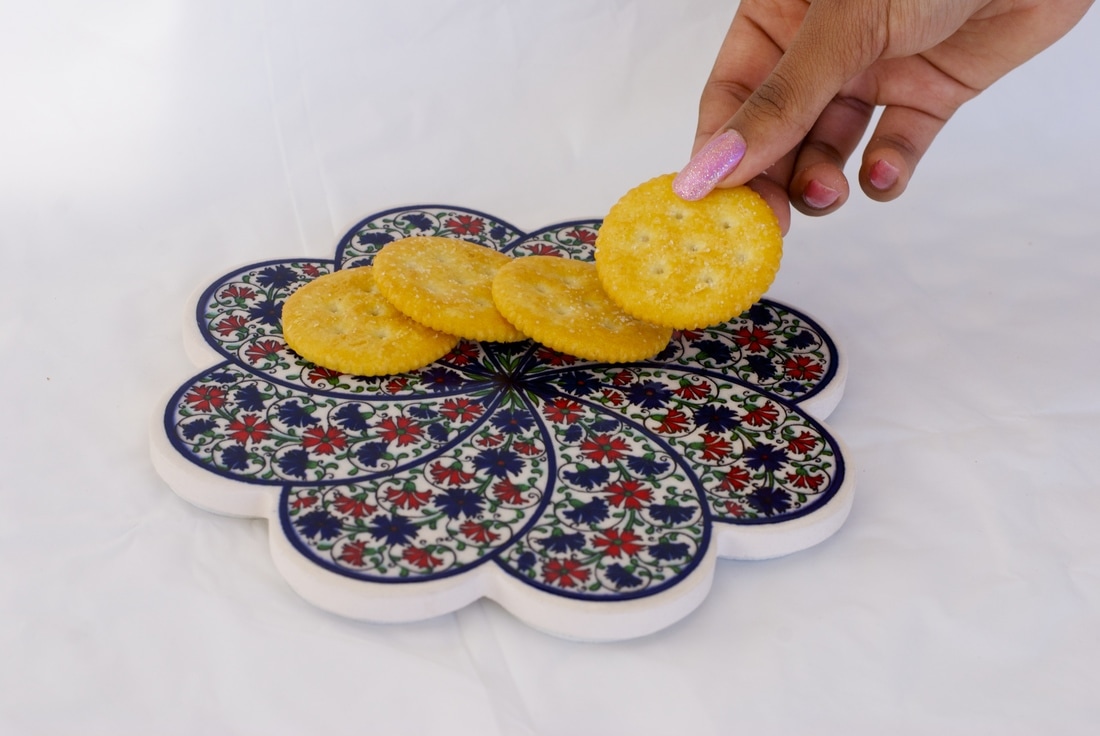
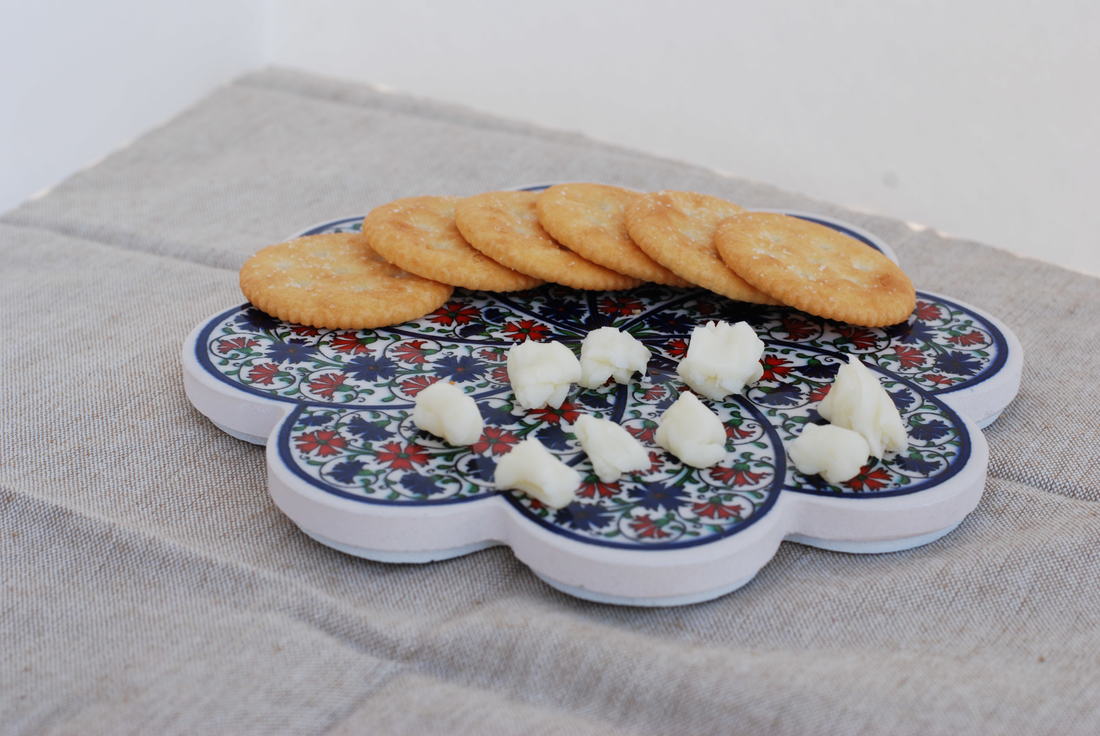
For my food, I brought cheese and crackers. For props, I used a hot plate, napkin and white poster for background. The five things I learned and did not know from the food photography video and presentation about food photography is that props, lighting, background, inedible products can be used to make a food picture perfect. For example, background setting, props and lighting help set the emotional approach to a photo. To make my photograph look similar to the professional food photography shots I took the photos at various angles to let the person viewing the picture see both the cheese and the crackers. Some businesses that use food photography are McDonald's, Taco Bell,and Burger King. I think I was successful in displaying the food in the picture. Food photography may become a hobby for me during random moments in my life, because I would be able to show people what I like to eat if they ask.
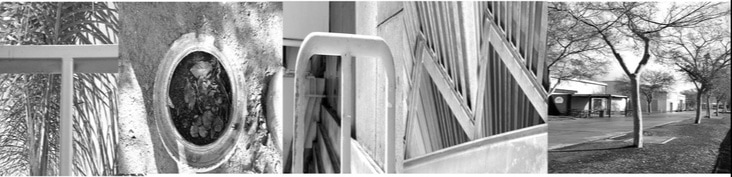 To create this image I took my camera and took photos of objects that formed the letter of my nickname. Next, I then imported the photos onto the computer and made them black and white. Then, I cropped the photos to make the let stand out more. After cropping, I then adjust the contrast of every picture to be about the same. Then, I opened photoshop and used U.S. Paper format to set the pictures background. Next, I Grabbed each individual paper and used the moved to adjust the location of the image. To make the letters the same size, I transformed each letter individually.
This project is mainly difficult in find the letters in the environment, but I am proud of the outcome of the photos. The second letter M could have been better, but it still is visible within the final cut. All the other letters stand out and are not really hidden.  In the future, I am a businessman collaborating with my coworkers. The environment around me is very engaging. The room I work in is well lit and has a nice view of the town. My wife mainly takes care of the kids while I work. On my spare time I hangout with my family, and stay connected with my friends. Occasionally I head to the gym to keep myself in shape and healthy. 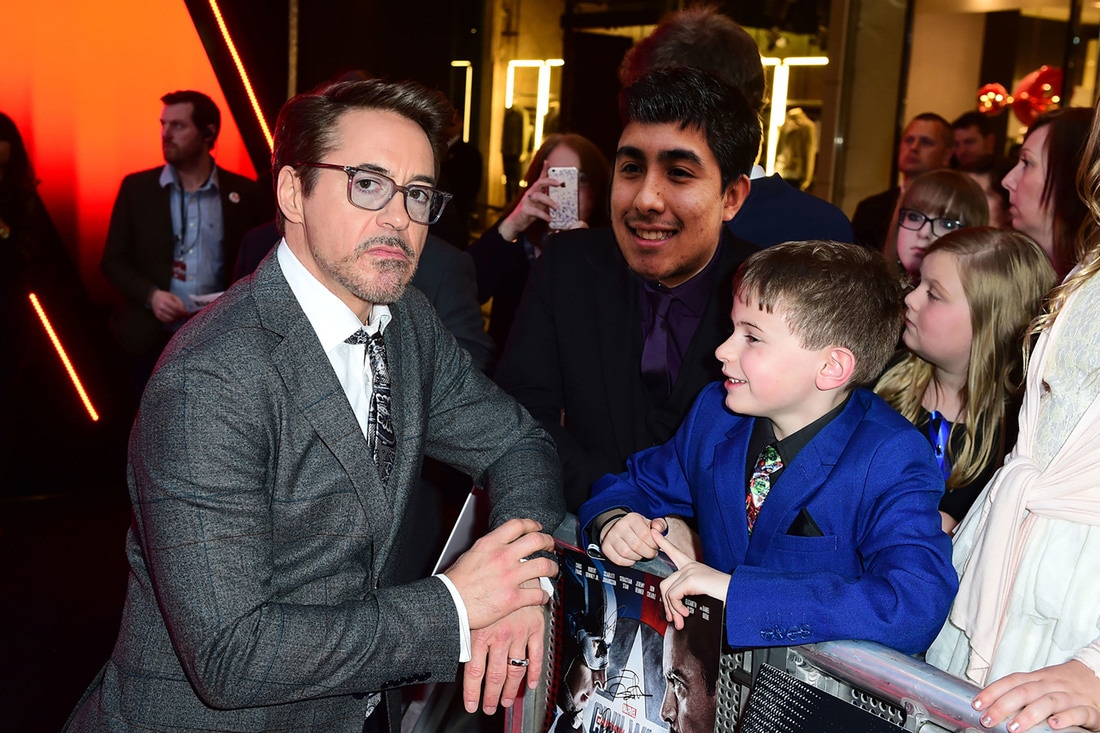 Tonight is the release of Captain America Civil War. Robert Downey Jr. so happens to be by the theatre and I just had to get a picture. I asked my friend to take a picture so I could share this to my other friends and family. To make these photos in Photoshop, I first searched google for a large sized image. After, I then decided who I wanted to be inside the photo and then had a partner take a picture of me mimicking the person. When both photos are on the desktop I then put them in the Photoshop and resized the resolution to 300. Once both have been set, I used the lasso tool to select the area around my head and then used the move tool to drag my head onto the photo I searched and picked on google. Next, I set the opacity to 60%, and then transformed the image with scaling and rotating it to match the persons face. After completing the overlap, I then used a layer mask on my head crop to allow me to brush with a black/white color to trim the image and make it more fit to the environment. Since the persons skin color didn't match mine, I then had to use color balance and brightness/contrast to match the skin colors. To finally smooth out the image I then used the dodge tool on the edges of the cropped area in the business photo.
Leading Line
Symmetry
Rule of Thirds
Crop
HDR= High Dynamic Range
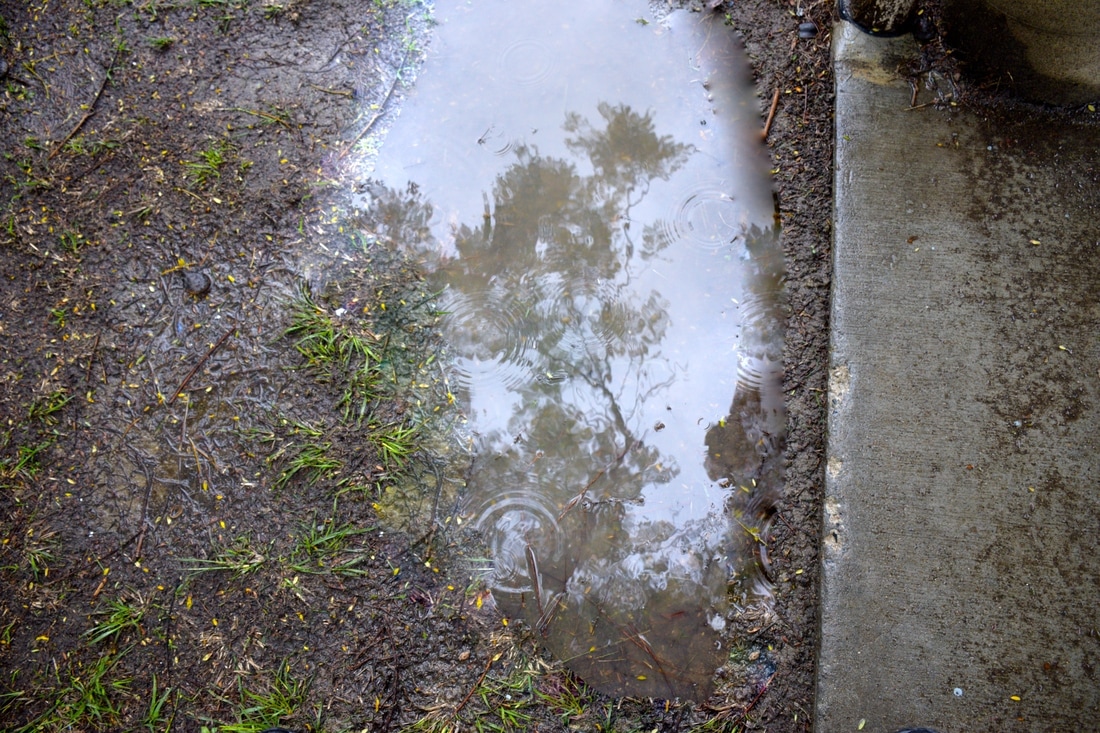
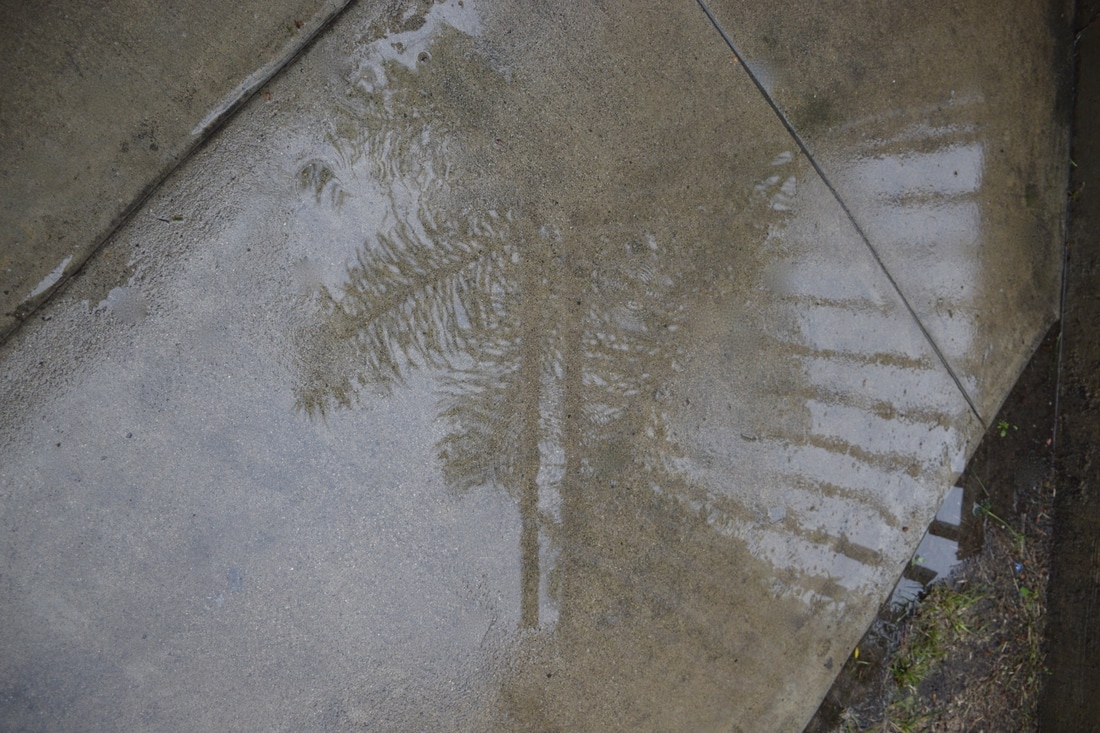
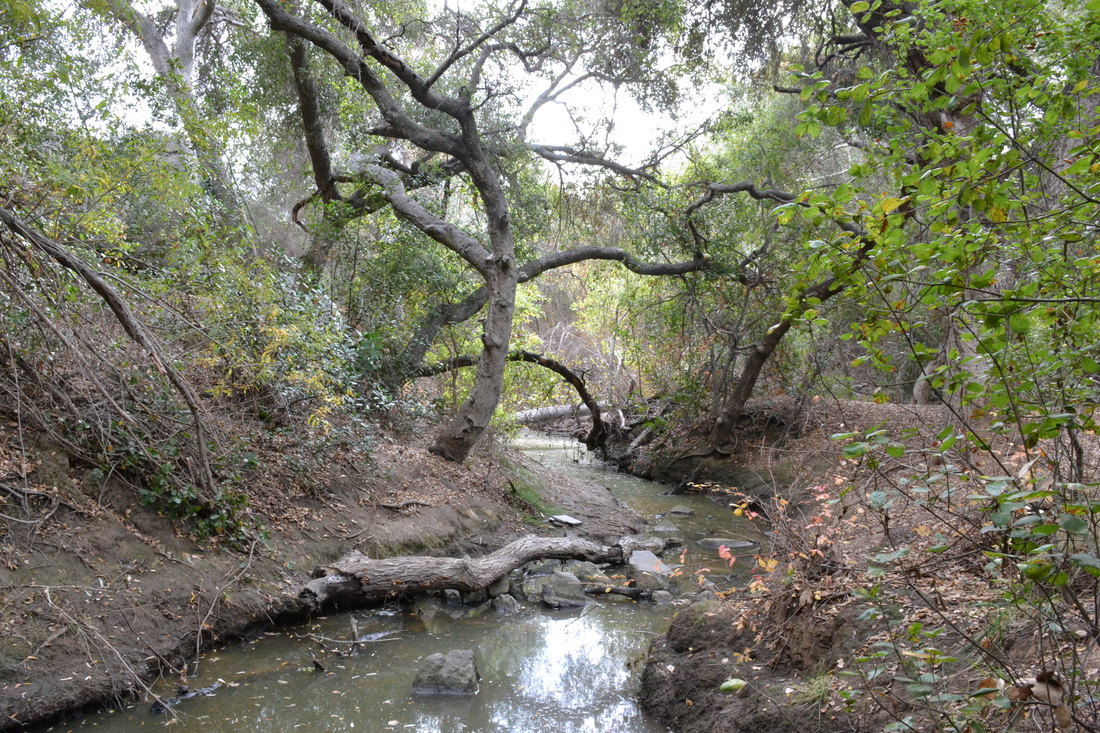
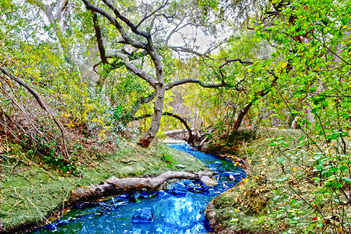
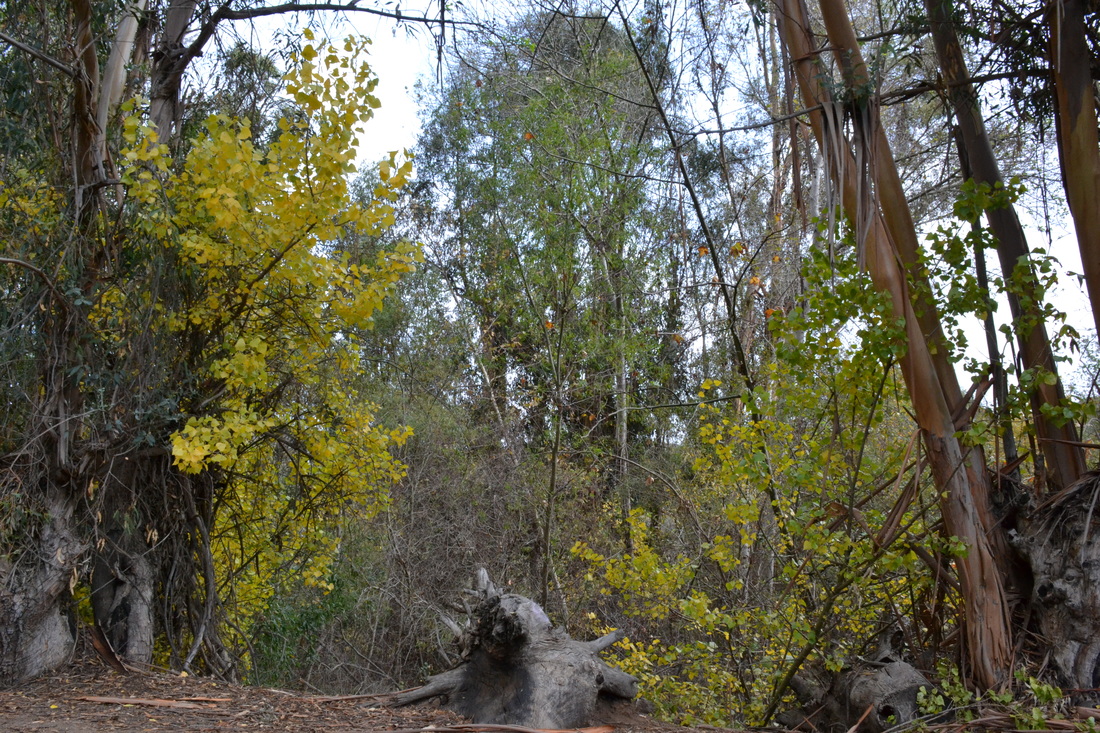
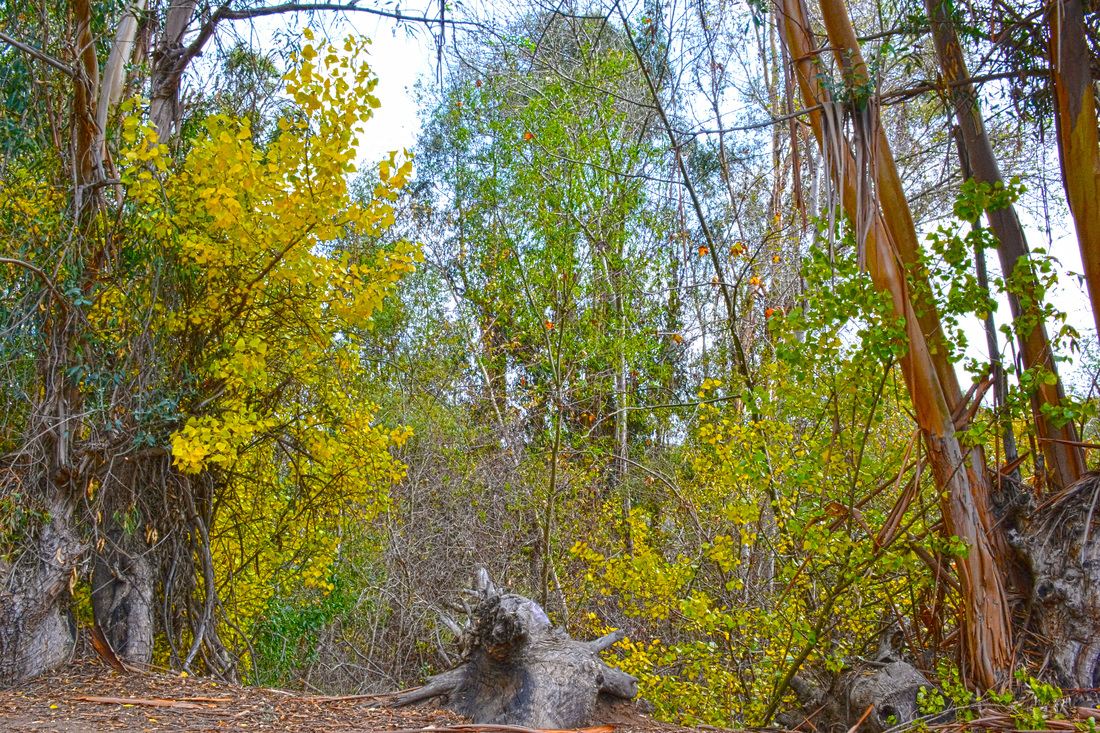
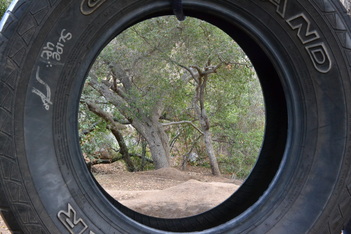
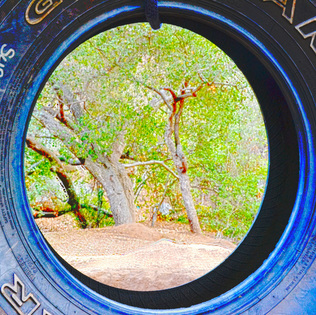
The photos I used to make the HDR Composition were taken on a tripod. Each photo was taken 5 times with one normal, and two over and under exposed pictures. Steps to make HDR in Photoshop: A. Open up Photoshop. File > automate B. Hit the browse button. Select photos > last import. Get the five images with the five different exposures pressing command + mouse click. C. Let Photoshop do it's thing to align the layers. D. A box will come up. Use the presets on the top right to find what you like the best. "More saturated" emulates Trey Ratcliff's style the most but it's up to you as the artist to choose what you like. E. Make sure the layers are totally aligned by pressing "get rid of ghosts". F. Press "done" when you're happy with what you have. I then personally changed the colorbalance in certain images to make the atmosphere feel more alive and cropped certain images to remove unwanted objects. 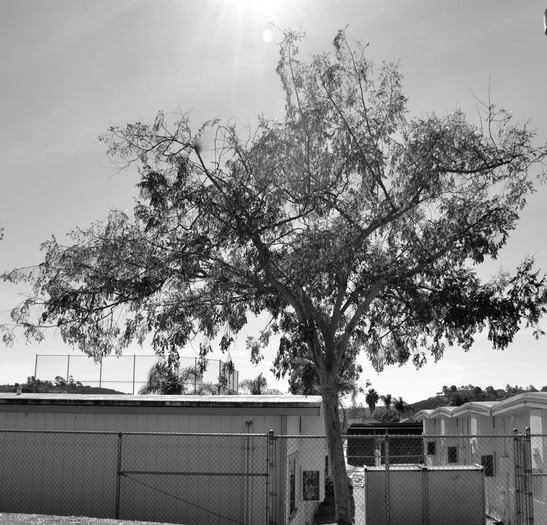    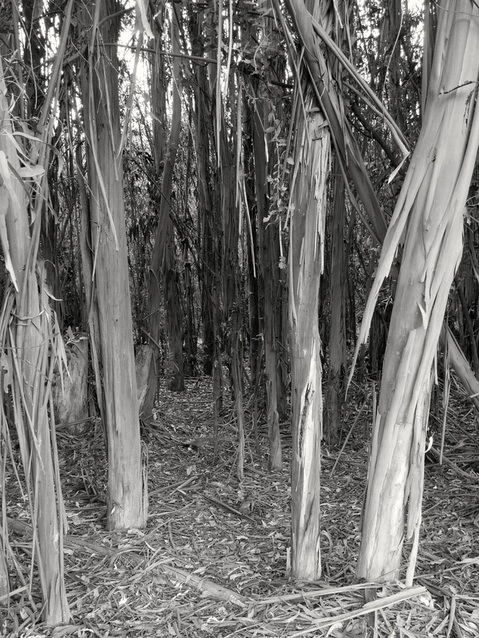 Presentation on Ansel Adams by Thomas Lynch docs.google.com/presentation/d/1wW2BFWaQwGXYtAsysHxZ7RXutx5CZatav75ocrKhDEk/edit?usp=sharing
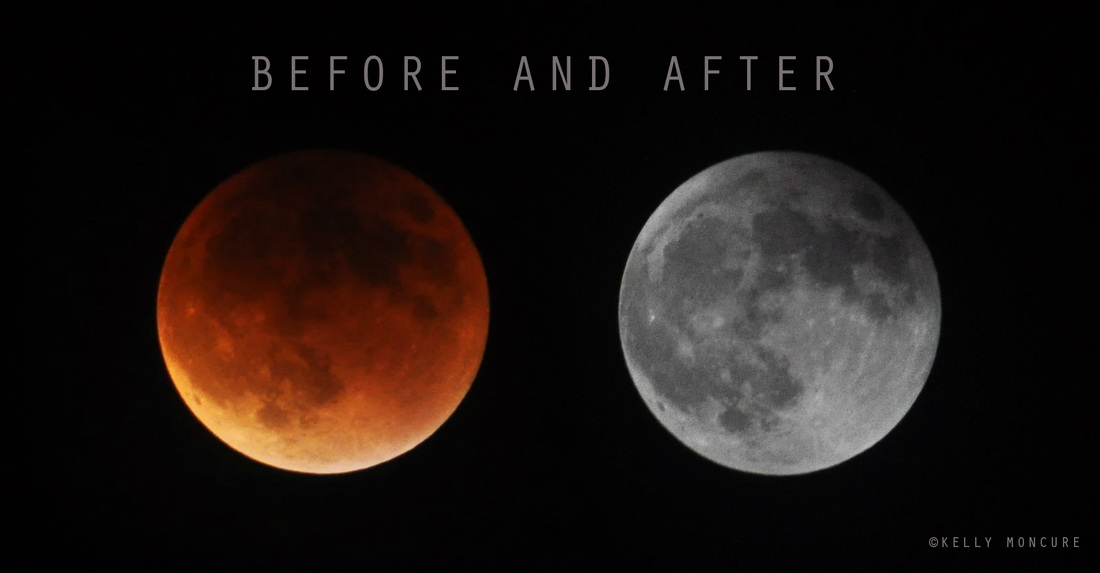 Blood Moon Lunar Eclipse, September 27, 2015. Left image: 70-300mm lens @ 270mm, ISO 1000, aperture f/5.3, shutter speed 1.3 secs. Right image: 70-300mm lens @ 300mm, ISO 800, aperture f/13, shutter speed 1/1250 sec. To photograph the moon:
1. Use a tripod! A flat surface will only allow you to shoot straight, and shooting the moon means that you'll be shooting up and constantly re-adjusting the tripod as the moon moves throughout the night. 2. Use a shutter release cord, remote or the camera's self timer if you don't have one, so that you don't move the camera when pressing the shutter release during a long exposure. 3. Use a zoom lens and zoom in as much as you can to the moon. It's okay if it's not a super fancy lens, this was shot using a 15 year old $100 lens. Focus in on the craters and details on the moon. 4. ISO 1250- 1600, so that you can use as fast a shutter speed as you can without losing detail-the longer the shutter speed, the more chances you have the camera will shake even slightly in the wind, resulting in an out of focus photograph. 5. Aperture priority of f/5.6 since you are not worried about capturing any details other then the moon. 6. Bracket your exposure, meaning over expose and underexpose the photograph from what the camera is telling you. Generally the camera will overexpose the moon, so you'll get nothing but a white blob in the sky. Use the exposure compensation button (the +/- button below the shutter release) and change the exposure to -0.5, then -1.0, then -1.5 and so on, until you start seeing detail in the moon. You may go as far as -5.0 exposure compensation to get what you need. 7. Take a fair amount of photos and keep refocusing as the night progresses. The photographs may look focused on the camera's display, but you won't really see if they're completely in focus until you upload them onto your computer screen. |
Author:Thomas Lynch, I'm a dedicated hard worker who loves to express himself through art. Archives
May 2017
Categories |
 RSS Feed
