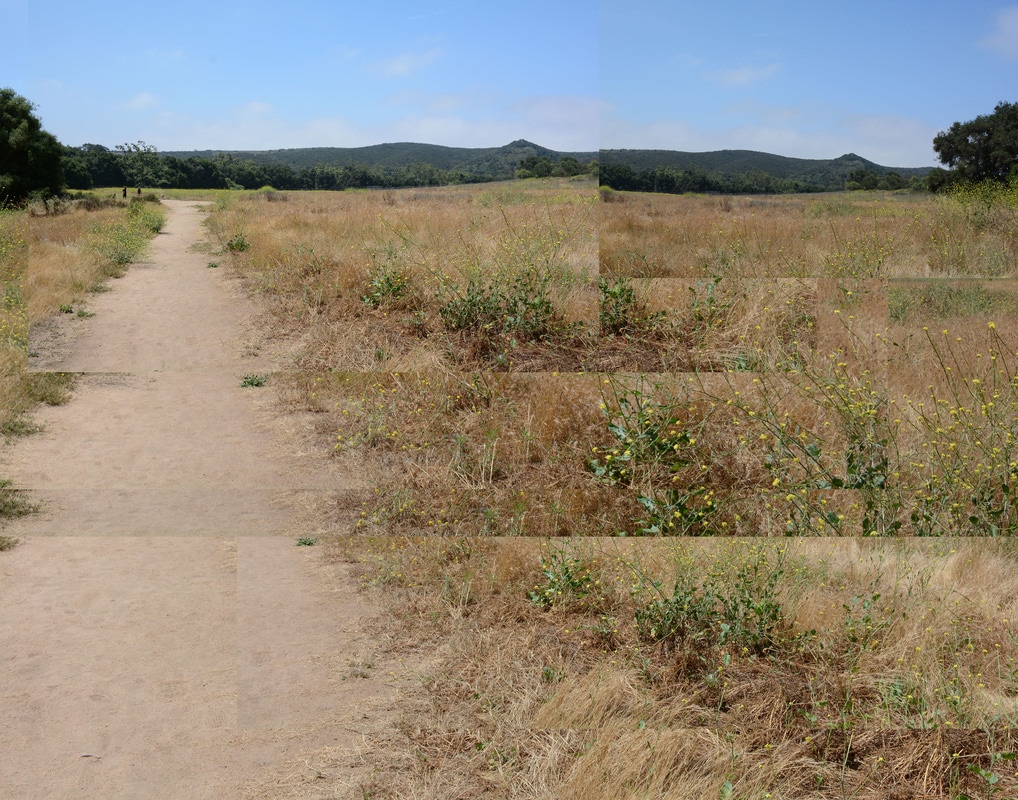
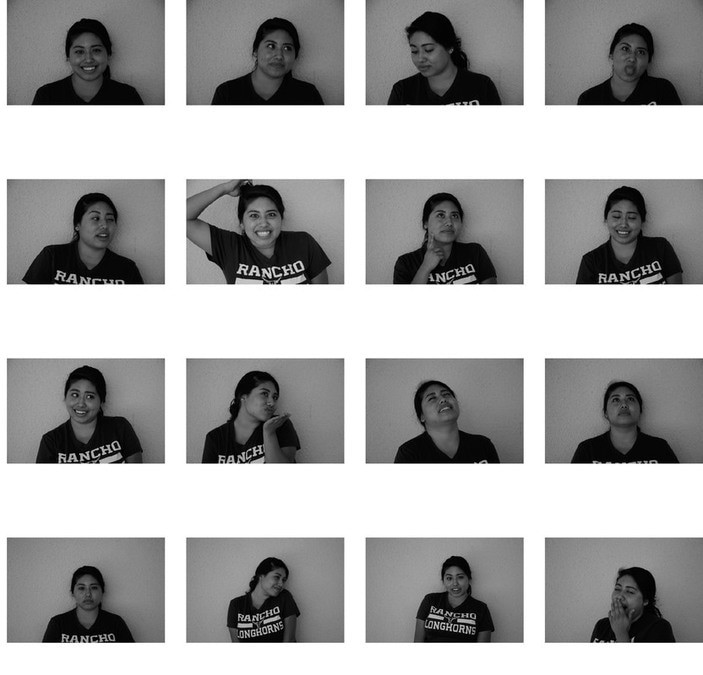
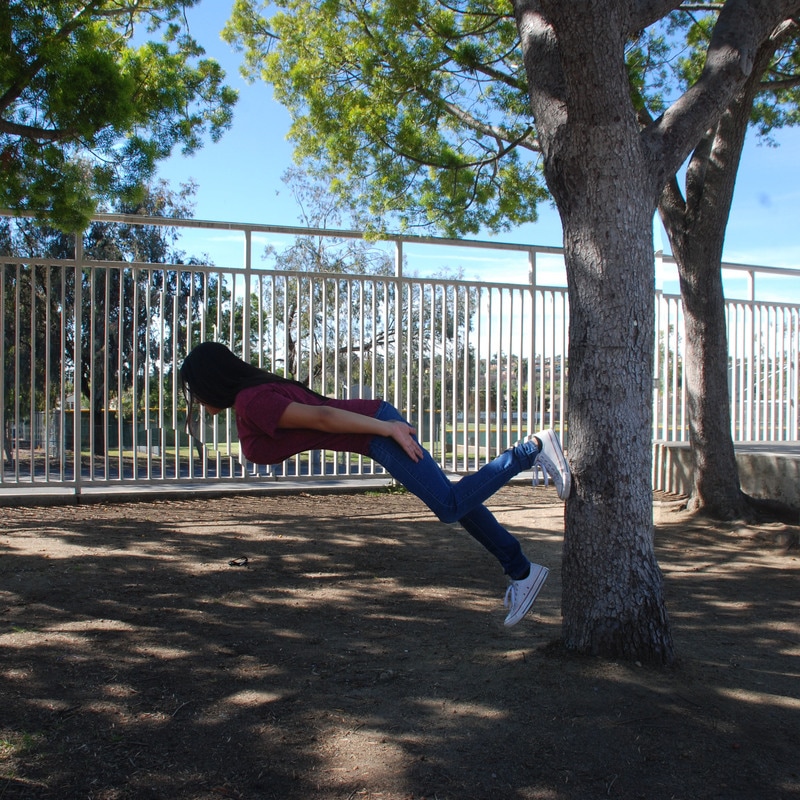
 Leading Line 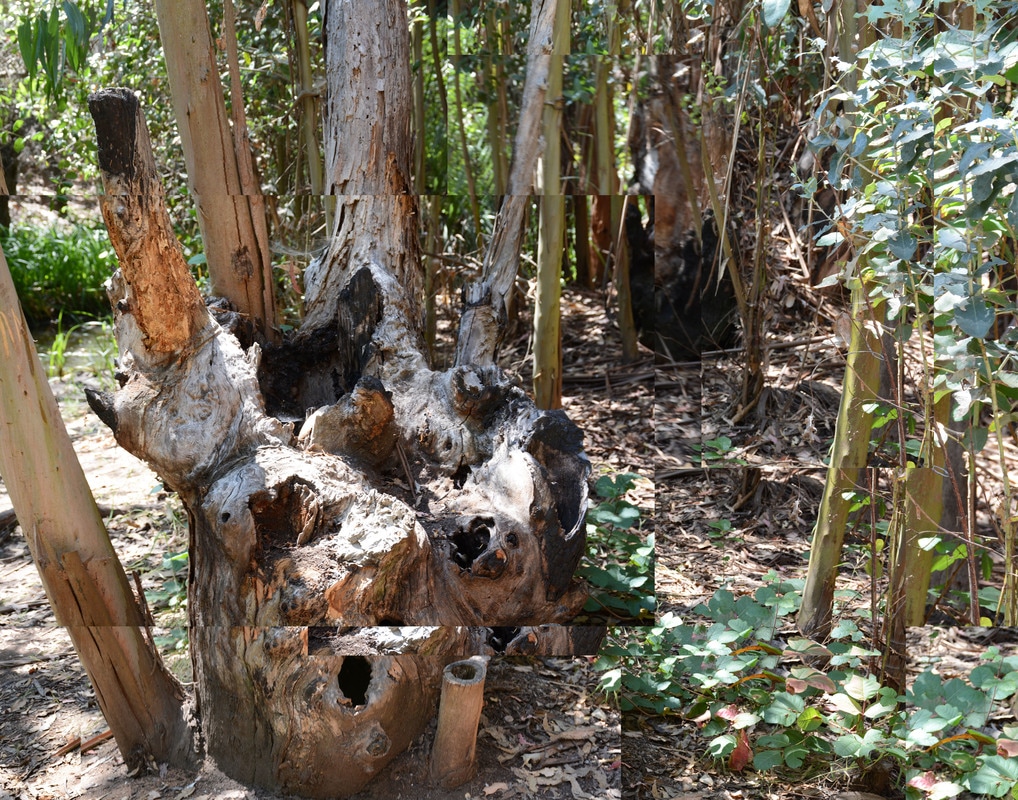 Rule of Thirds David Hockney is a British Pop artist who developed a unique style of art that revolved around photo collages. In addition, Hockney also created famous paintings such as A Bigger Splash in 1967. He was born in Bradford, England, in 1937. After finishing school, he did his work in Los Angeles creating "joiners". My work emulates his style by having multiple layers of the same subject overlapping each other in certain areas to create the whole picture.
To make the pictures, I took 12+ photos of one scene and had the camera set to 400 iso with an aperture of f8. Each shot varied in POV of the scene. I did not mind the lighting, because it makes the photo look more like Hockney's style. To make the picture itself, I used photoshop and changed the scaling of each photo to my liking to form the overall image.I then adjusted the layers to my liking and had it so it flowed more smoothly. So the images were placed to form a grid similar to a 4x4 grid of photos to make the whole picture. I liked how the miss variation in scale allows the artist to extend or shorten certain areas in the image.
0 Comments
 I chose to emulate the magazine Men's Health. I chose this magazine, because I personally feel that Enzo is a good example of a man that is in good health. To emulate the magazine cover style, I had Enzo do a similar pose that most of the models do in the magazine. The rest of the emulation came to how the magazine artists style the Men's Health magazine. From google, most of the covers had white backgrounds, so I used Photoshop to crop Enzo out of the gray background to a new white layer. The font style I used was Calisto Bold, because from personal research on the project I found out it is the font that the artists use or is close to it. To match their text style, I also capitalized all letters and varied the letter coloring to the coloring that they use in the magazine. I made the background color change for some of the text by using the rectangle tool. The bar code and Men's Health title were grabbed off of google images.
To make the picture of Enzo be well lit, a strobe light, modeling light and soft box were used. Strobe lights are huge lights that produce a strong and bright flash instantaneously. The Strobe light requires a great deal amount of power, and can be very costly. A strobe light allows the photographer to take pictures without relying on the lights flash speed, because it is so fast. Modeling lights are weaker, but are strong enough to help photographers preview where the strobe light will be falling on the subject. Soft boxes help modify light by direction and diffusion. It can be used to reduce shadows too. In addition to the lighting tools, a grey card, reflector and radio trigger system were used to perfect the timing and exposure of lighting. The grey cards allowed me to see if all colors are equally represented in the photo. With the grey cards help, a reflector was also used to reflect the light back to the subject so that both sides of the subject were equally exposed to the amount of light I wanted. The radio trigger system allows photographers to connect to the strobe light through radio waves and have it cast light instantaneously when needed for the picture that is being taken milliseconds after. 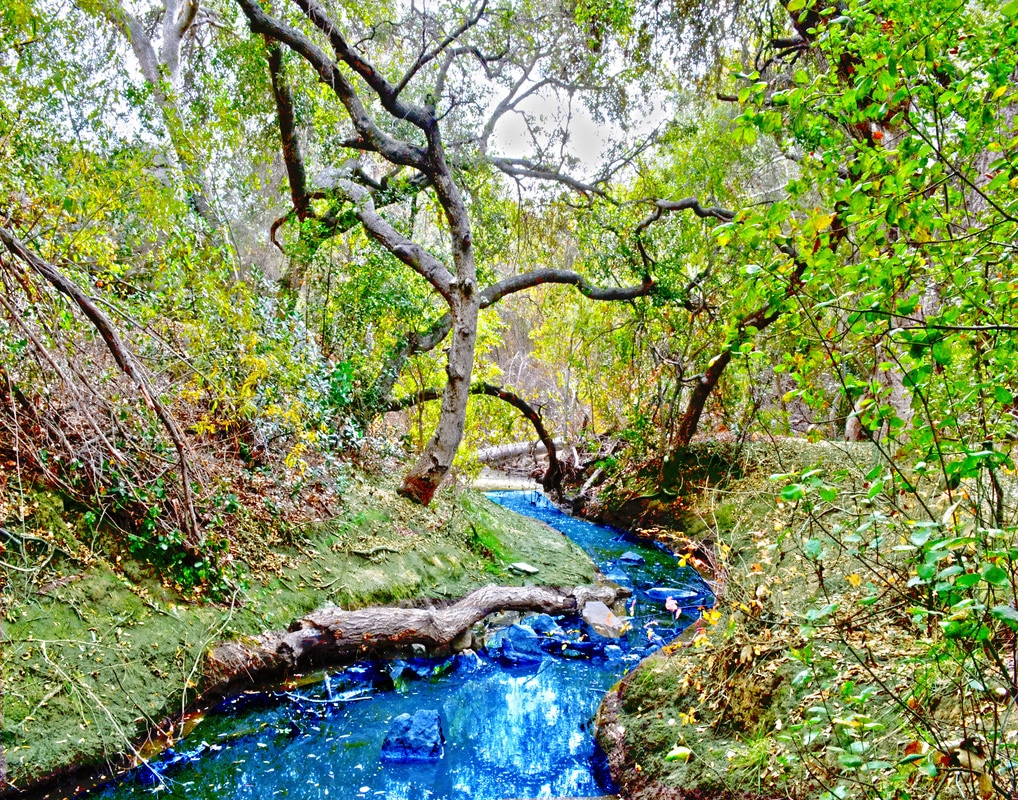 My picture is an HDR photograph of a river at Buena Vista Park. I took this photo using a Nikon D5300 with an 18- 140mm lens with the compositional rule of leading line. I titled it “Another World” because the HDR effect gave a different view of the world from what it actually is. To make this picture, I took 5 pictures with different exposures ranging from 1 to -1 in sections of .5. After taking the photos, I then merged them through HDR Pro in Photoshop and changed the brightness and contrast to my liking. To put the finishing touches, I then used the lasso tool to select certain areas and used color balance to change the color of certain areas such as the dirt ground and dirty water. I believe it’s in the San Diego county lifestyles division, because it shows off how vibrant San Diego’s life style is and how it is full of life. This picture was printed on Epson Glossy Photo Paper on the Epson P800 digital printer.
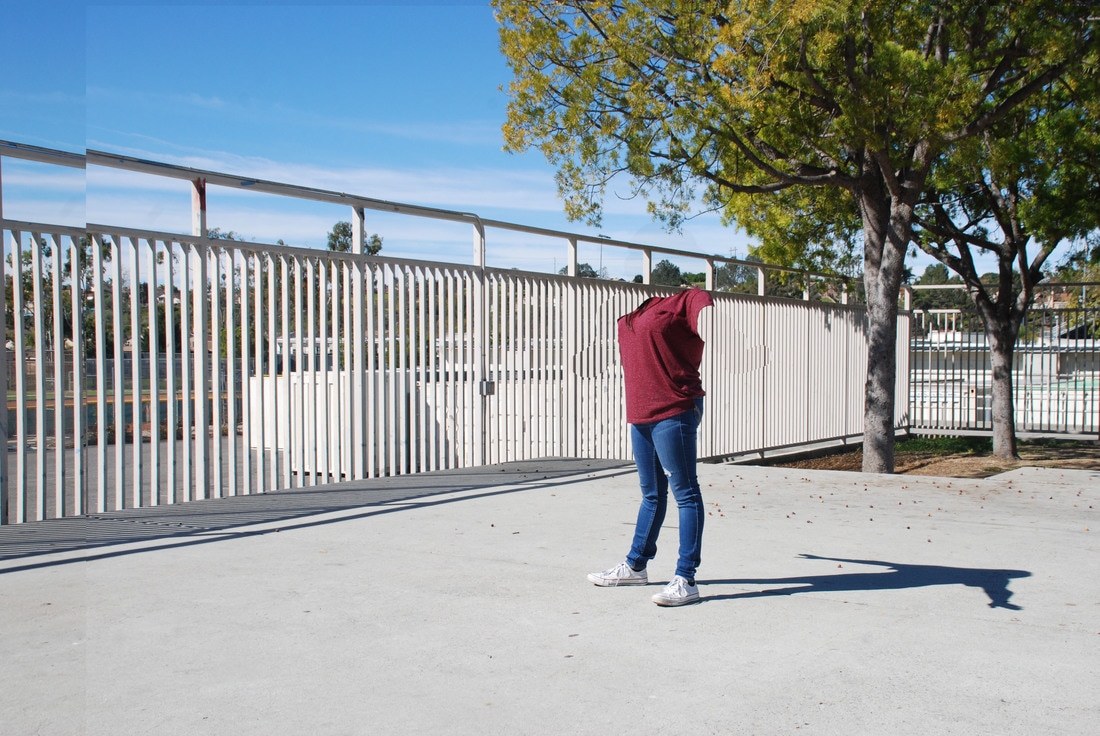
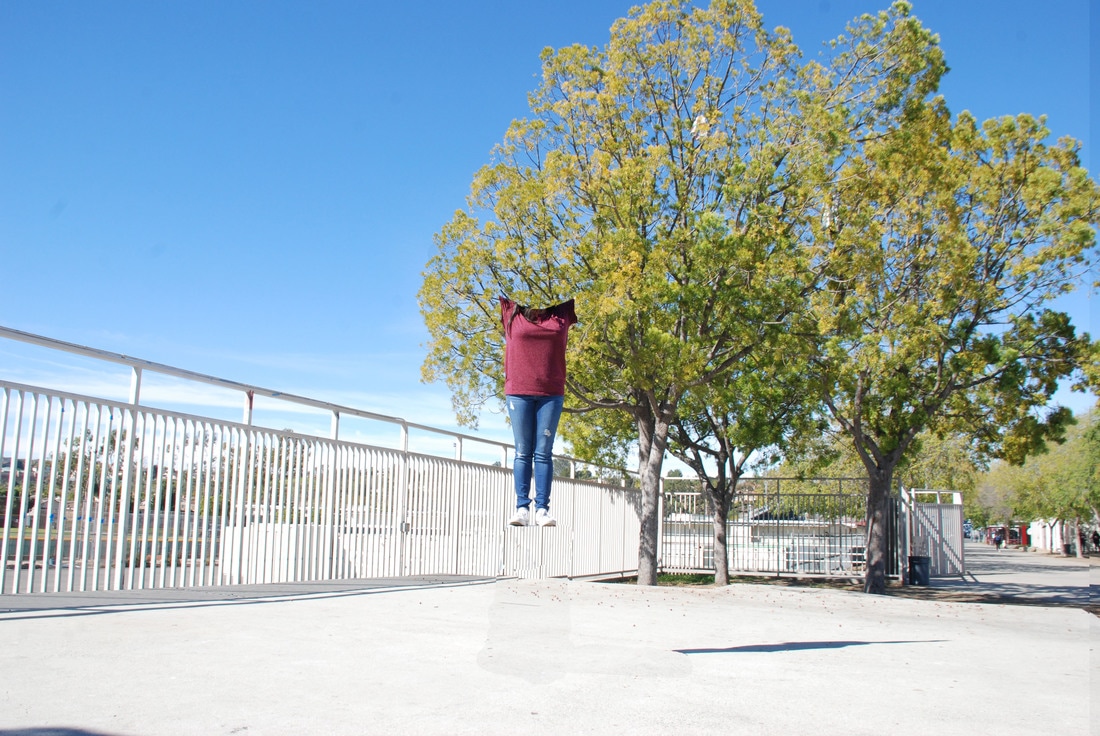
 Shutter speed 1/800th of a second, aperture f/9, ISO 400. 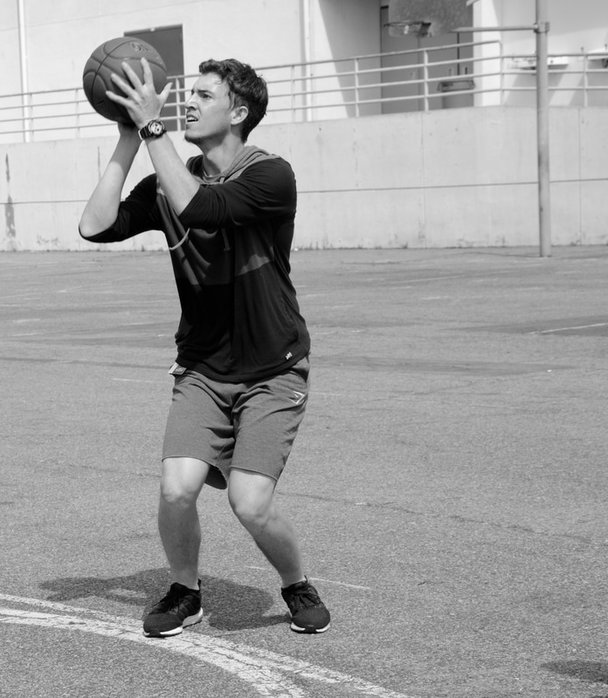 Shutter speed 1/800th of a second, aperture f/10, ISO 400. 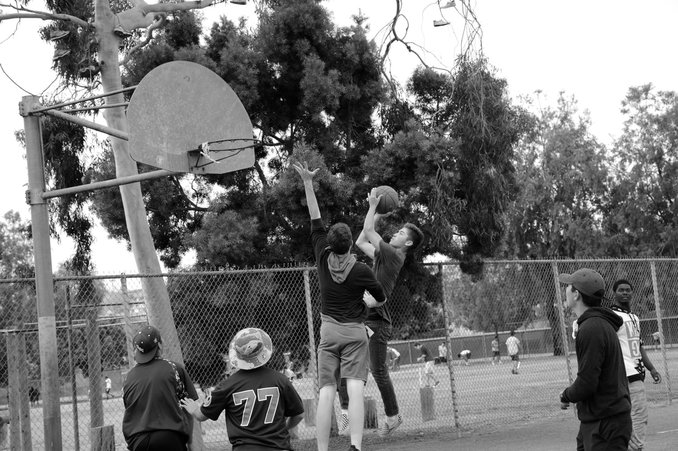 Shutter speed 1/800th of a second, aperture f/5.6, ISO 400.  Shutter speed 1/800th of a second, aperture f/10, ISO 400. 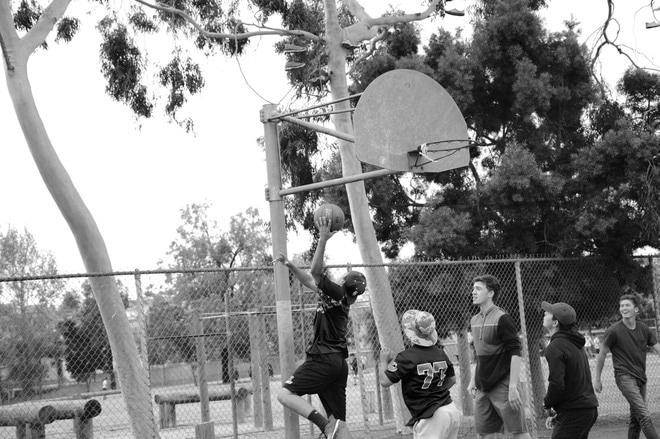 Shutter speed 1/800th of a second, aperture f/5.6, ISO 400. 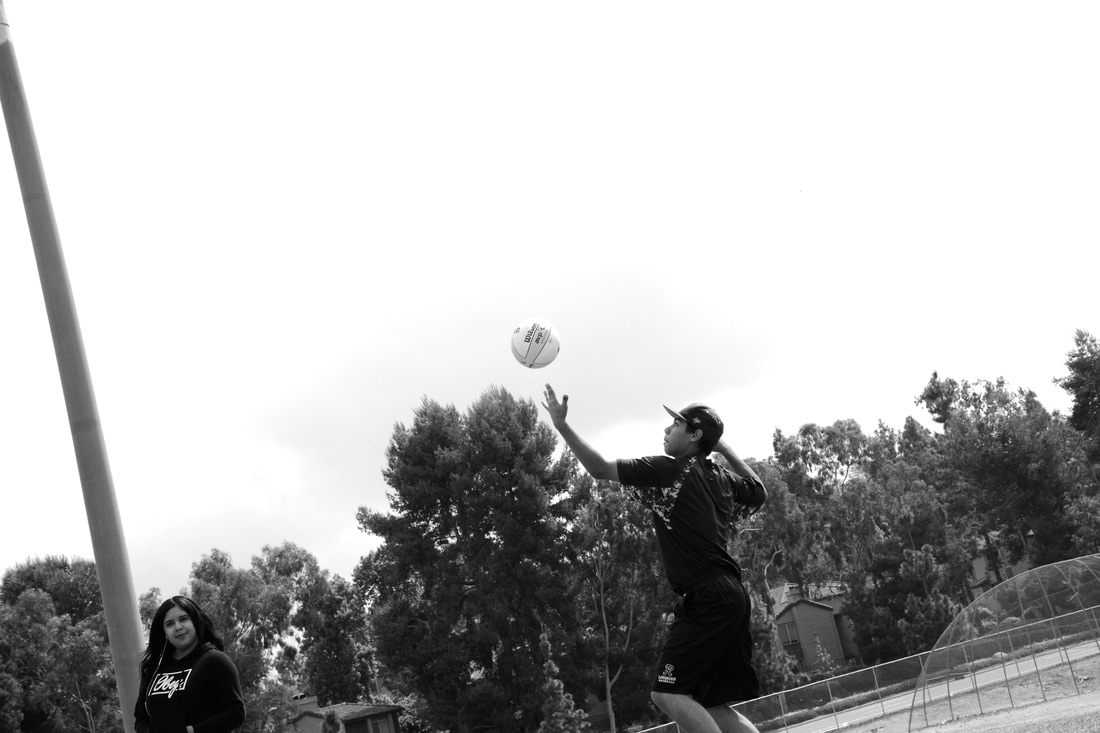 Shutter speed 1/800th of a second, aperture f/10, ISO 400. 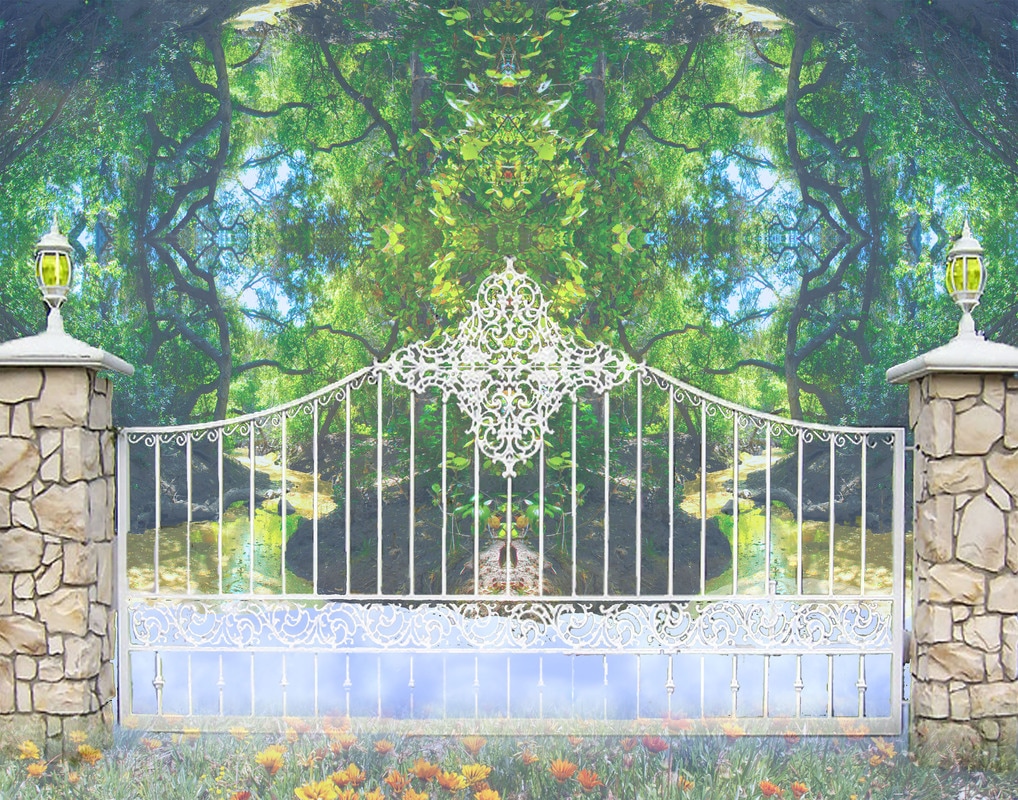 Photos UsedPoem
The Garden of Eden was made by God, Adam the first man to ever trod. Beautiful trees and plants grew there Adam was happy without a care. Tree of Life and Knowledge too planted in the garden grew. The tree of Knowledge God forbid, do not touch, or I will rid. A lost paradise would occur a magic kingdom all a blur. One day when Adam fell asleep God took a rib made Eve so sweet. Satan came formed a snake tempted Eve for goodness sake. She ate the apple ripe and red gave it to Adam, Adam was fed. A paradise was lost that day a working life began this way. Heather Burns How It Was Made The pictures I used for this photo originated from the duck pond except for the gate. The gate was photoshopped from online google image searching. Using photoshop i made the background garden with HDR. To give off a more heaven like feel, I made the color balance of river and lights goldfish yellow. The first layer of the composite photo was the clouds and I used solid color layer adjustment to make the picture more bright and light hearted. The color I used was the gold from the river. After setting the background image i then made tessellation with the HDR photo of the river. The tessellation was set as the third layer and I used layer masking to make it look like clouds were appearing from the bottom of the picture to represent the start of heaven. I then photoshopped the excess background pixels of the gate using vector mask and magic eraser to do it faster and more cleanly. With the photoshop of the gate being finished, I then placed it on the clouds on the fourth layer. To show that the place was more like the garden of Eden, I then added flowers to the very bottom of the composite photo to add more life to the picture. Since the place is heaven and only people that are dead can see it, I lowered the opacity of the 2nd layer and used the gradient vector mask on the flower layer. To keep symmetry, I used photoshop view guides.
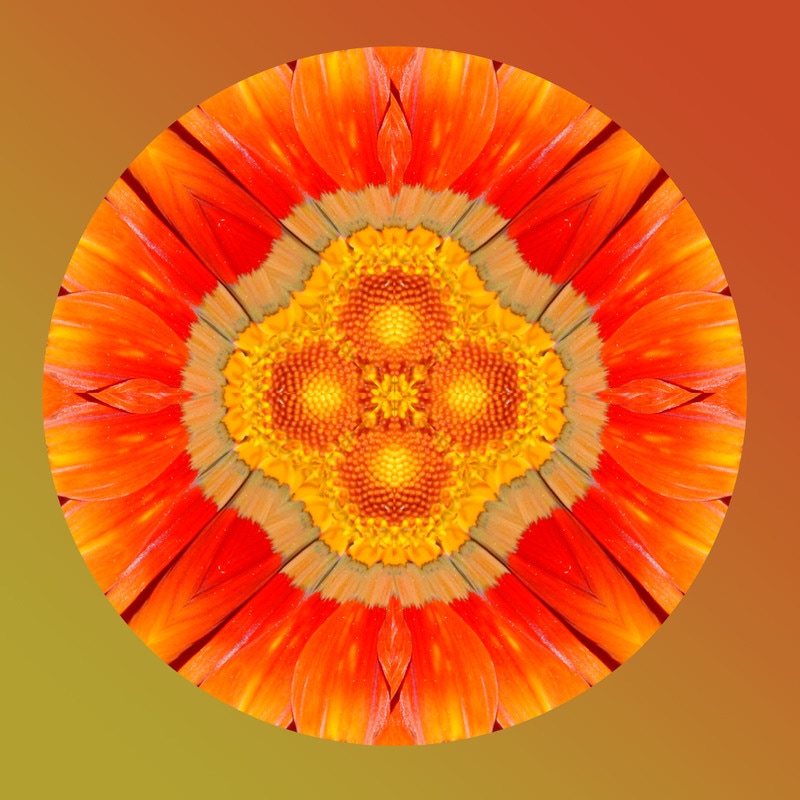
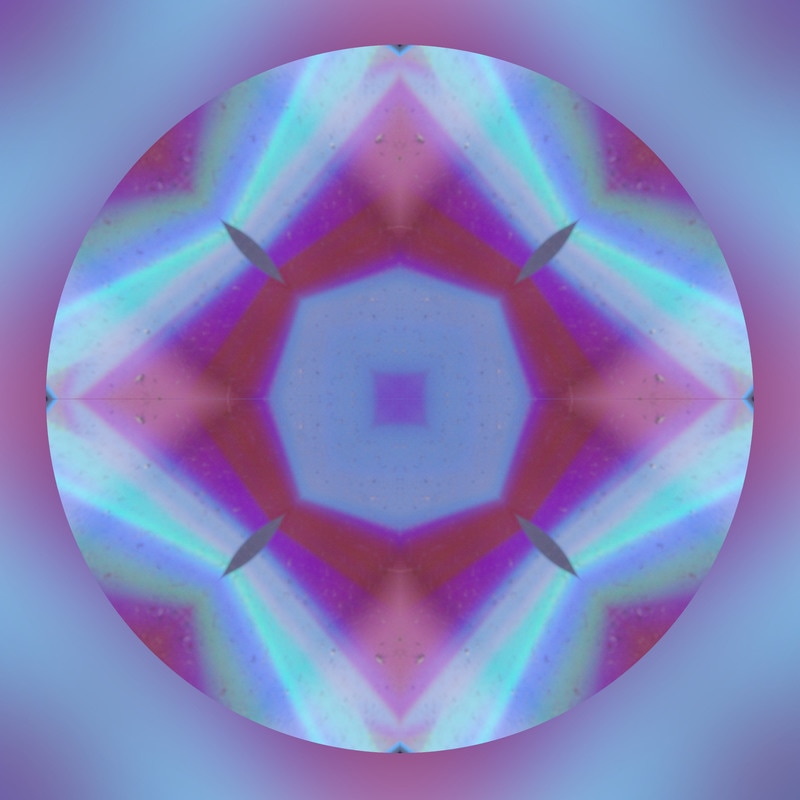
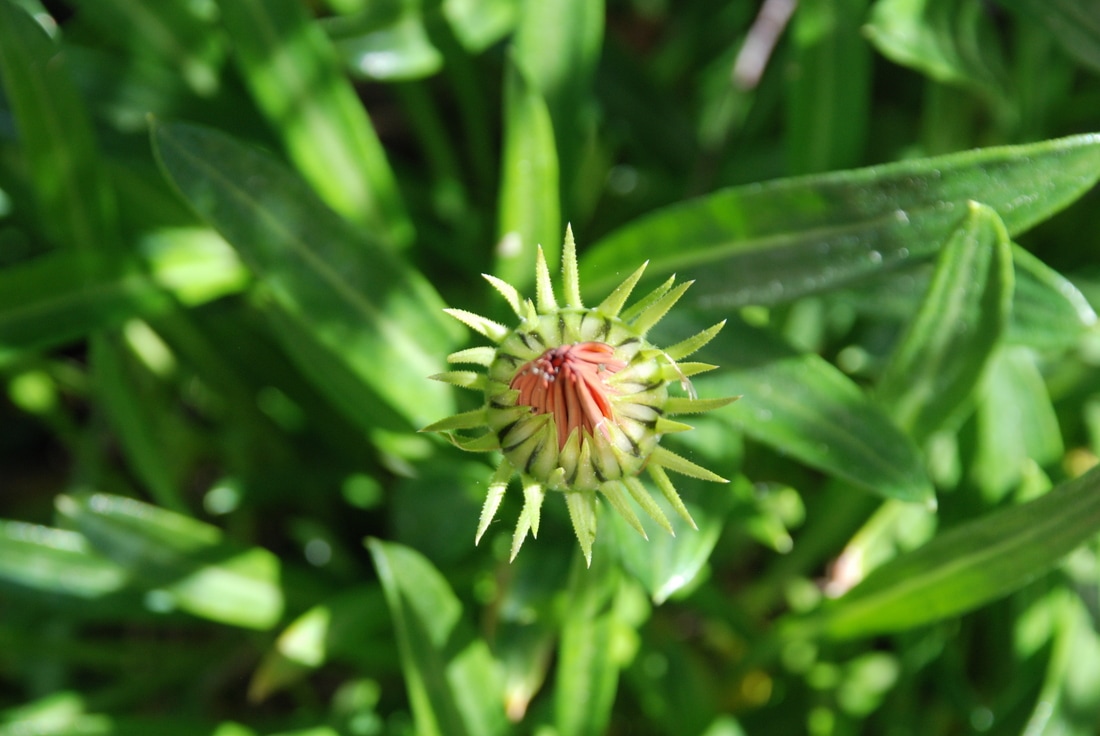
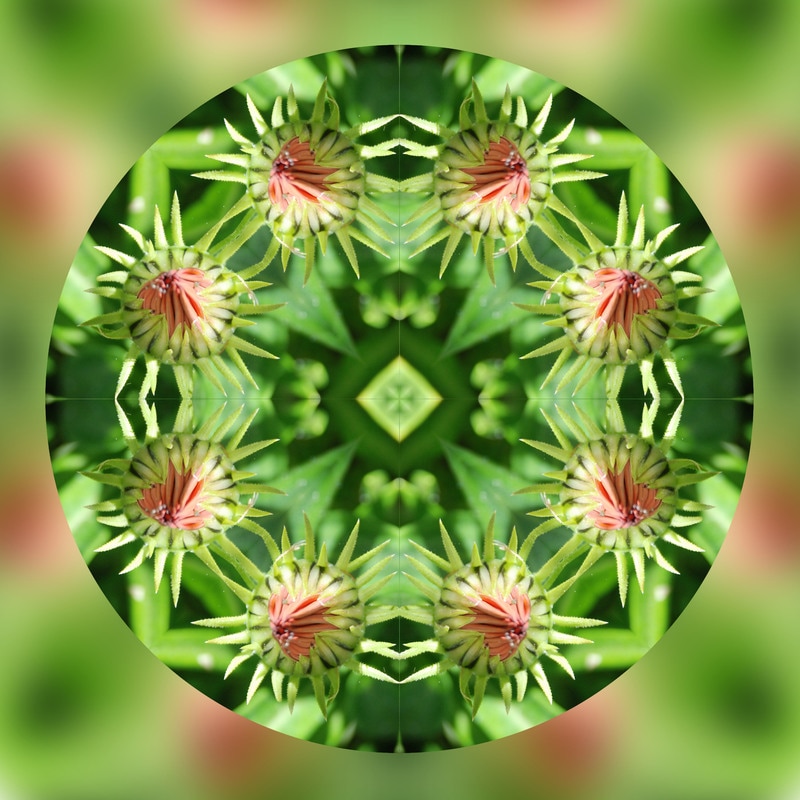
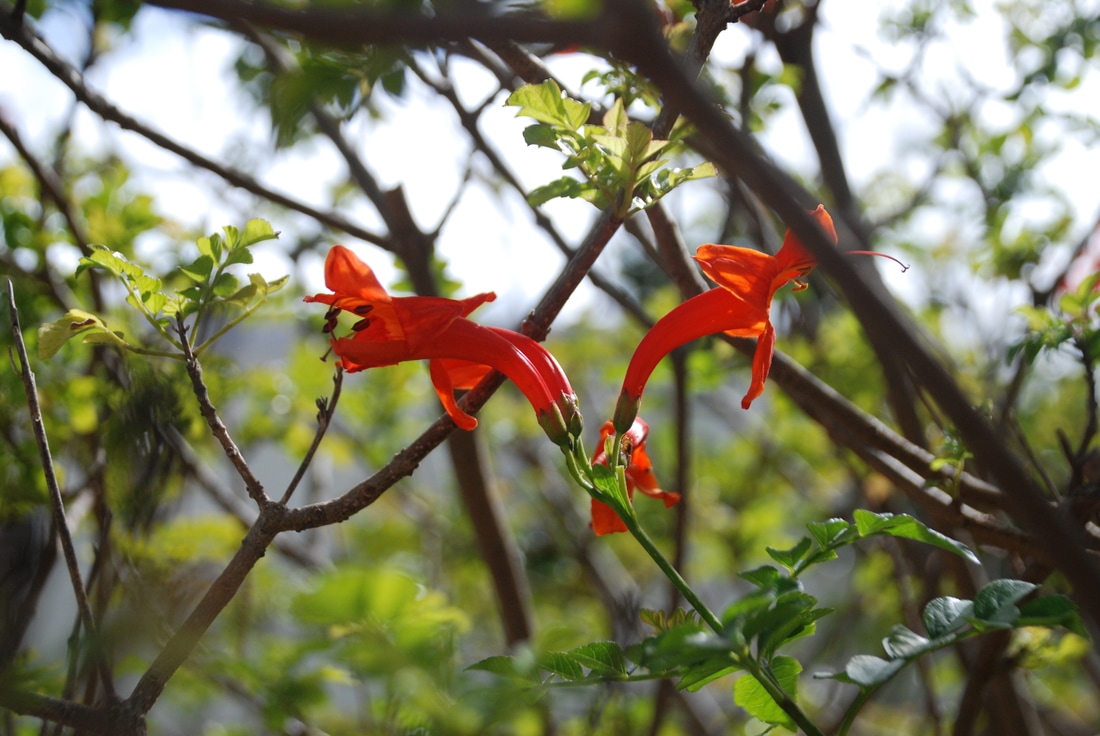
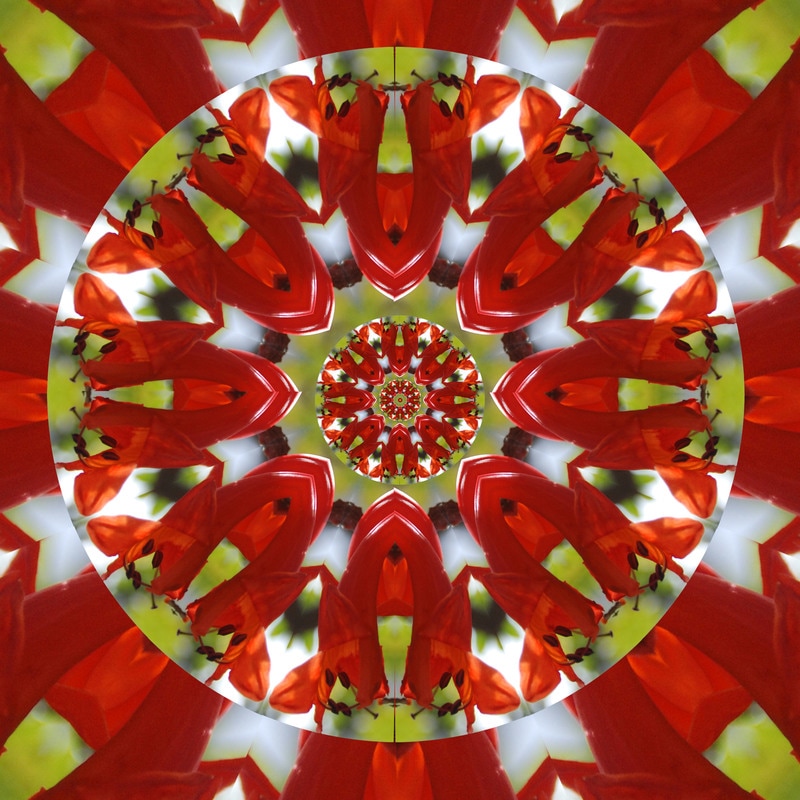
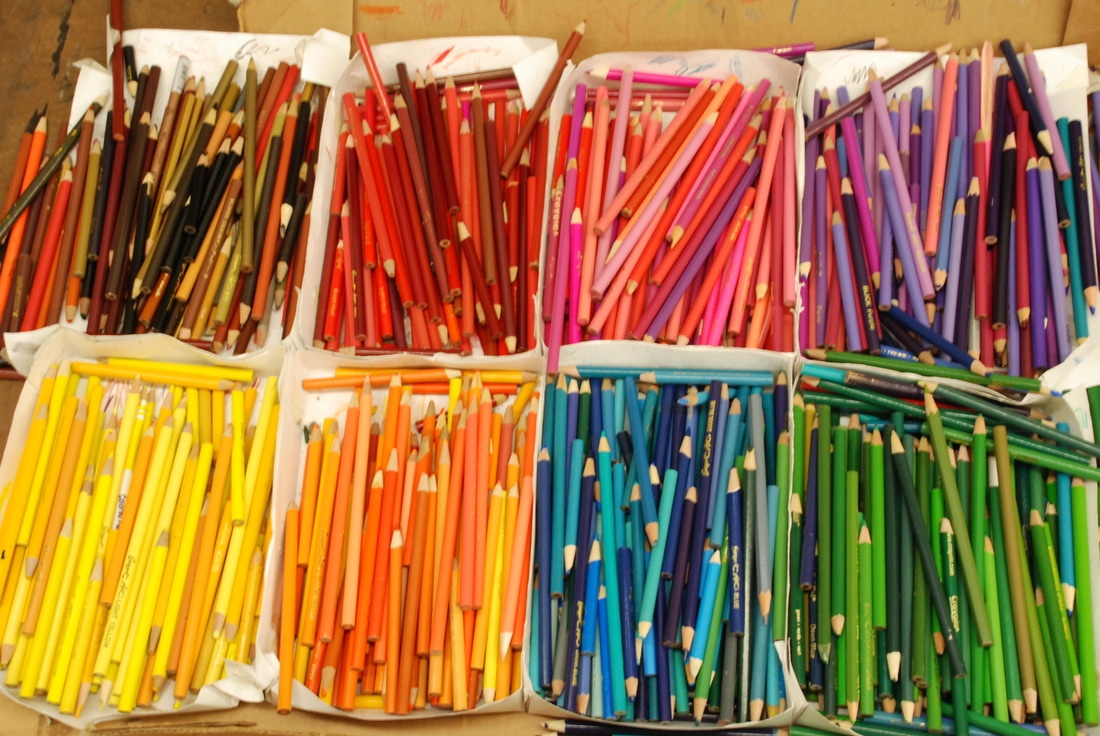
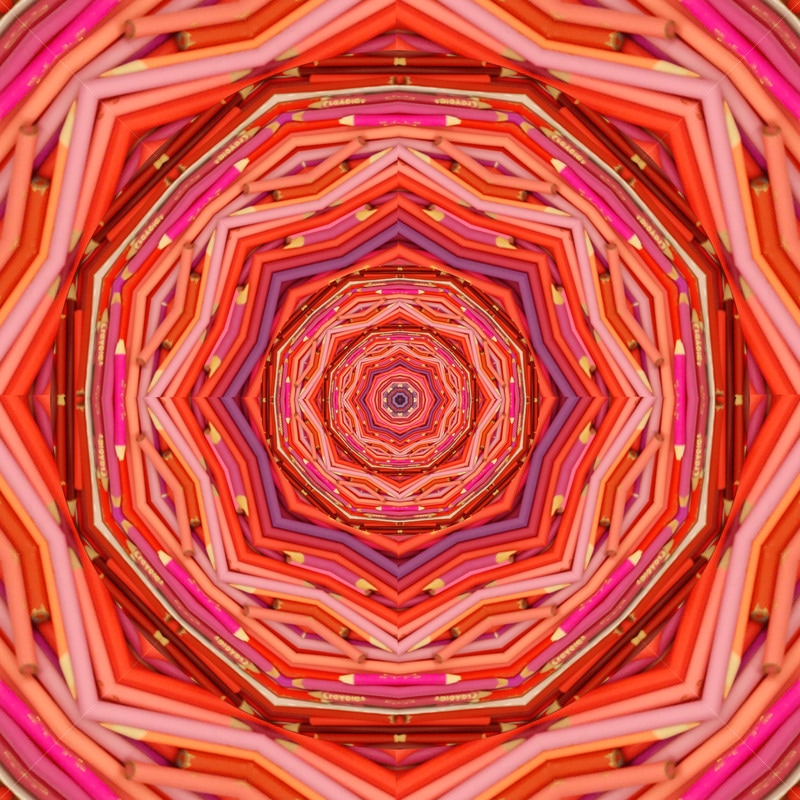
A mandala is an image that has an arrangement of one image closely fitted together to form a circular pattern. To make the mandala I first grabbed a mandala template. After, I then opened up the template and photo in photoshop. Using the magic wand, I then highlighted one cone in the template to crop the image to the mandala shape. After cropping the portion I wanted, I then duplicated the layers and merged them as they formed a perfect circle. To make a better background for the mandala, I duplicated the final product, enlarged it, and then blurred it. I had no struggles making these mandalas. If I had to do these mandalas over again, I would enhance the design more by putting in more layers within layers and create a more in depth illusion. 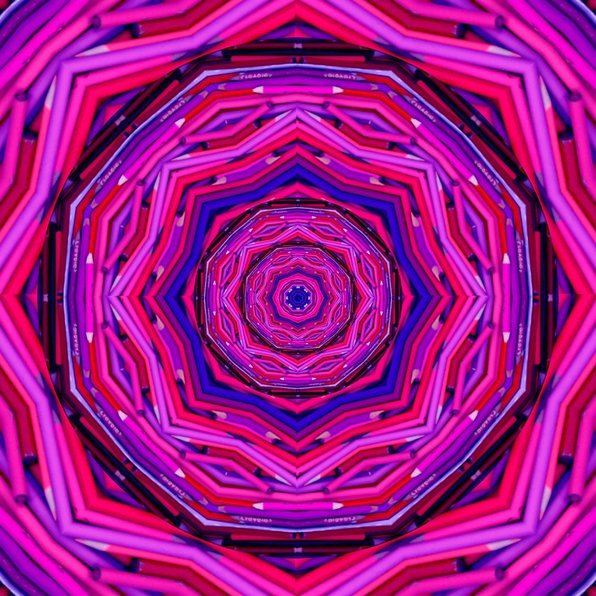 |
Author:Thomas Lynch, I'm a dedicated hard worker who loves to express himself through art. Archives
May 2017
Categories |

 RSS Feed
